If you want to add split rail fencing to your yard, it would be best to know if you need to cement it or not. So, to help you out, we have asked some experts and conducted thorough research if cementing the split rail fence is necessary.
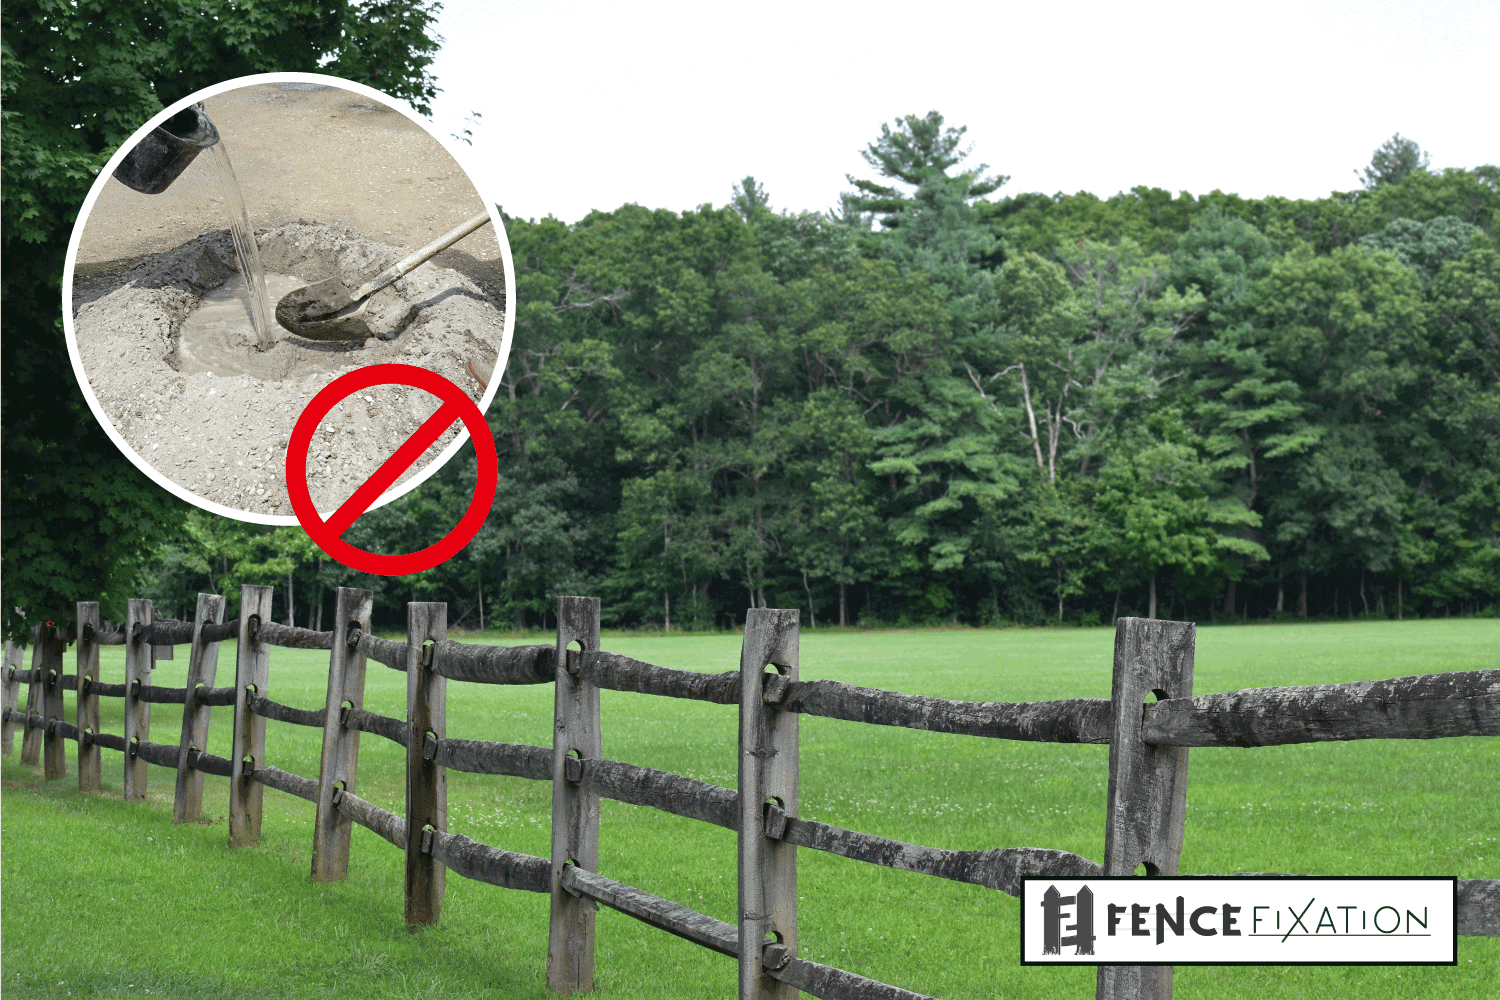
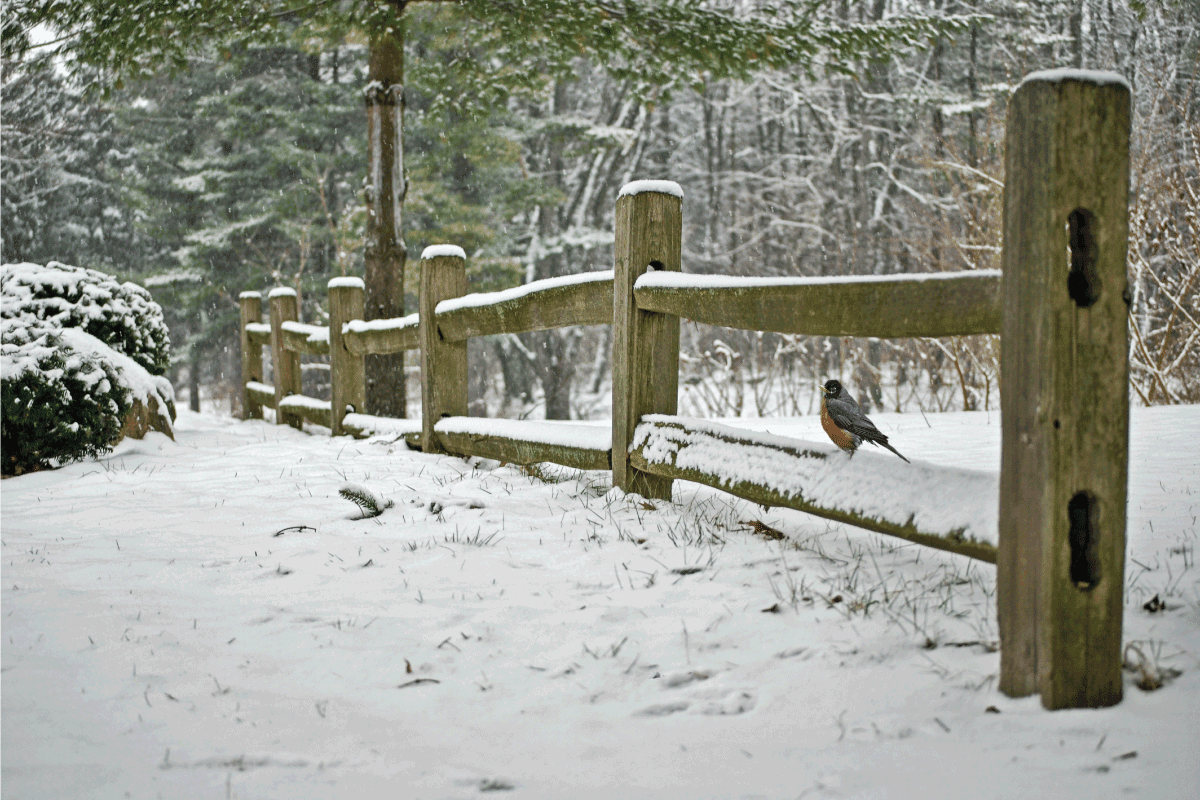
It is unnecessary to set split rail fences on concrete because they are purposely designed to be fixable. Utilizing concrete to set them is not a good idea since it would make them impossible to replace once they wear and rot. Fixing your split rail fences in concrete could also contribute to untimely rot as water sits on the concrete since it is impermeable, thus making the post rot.
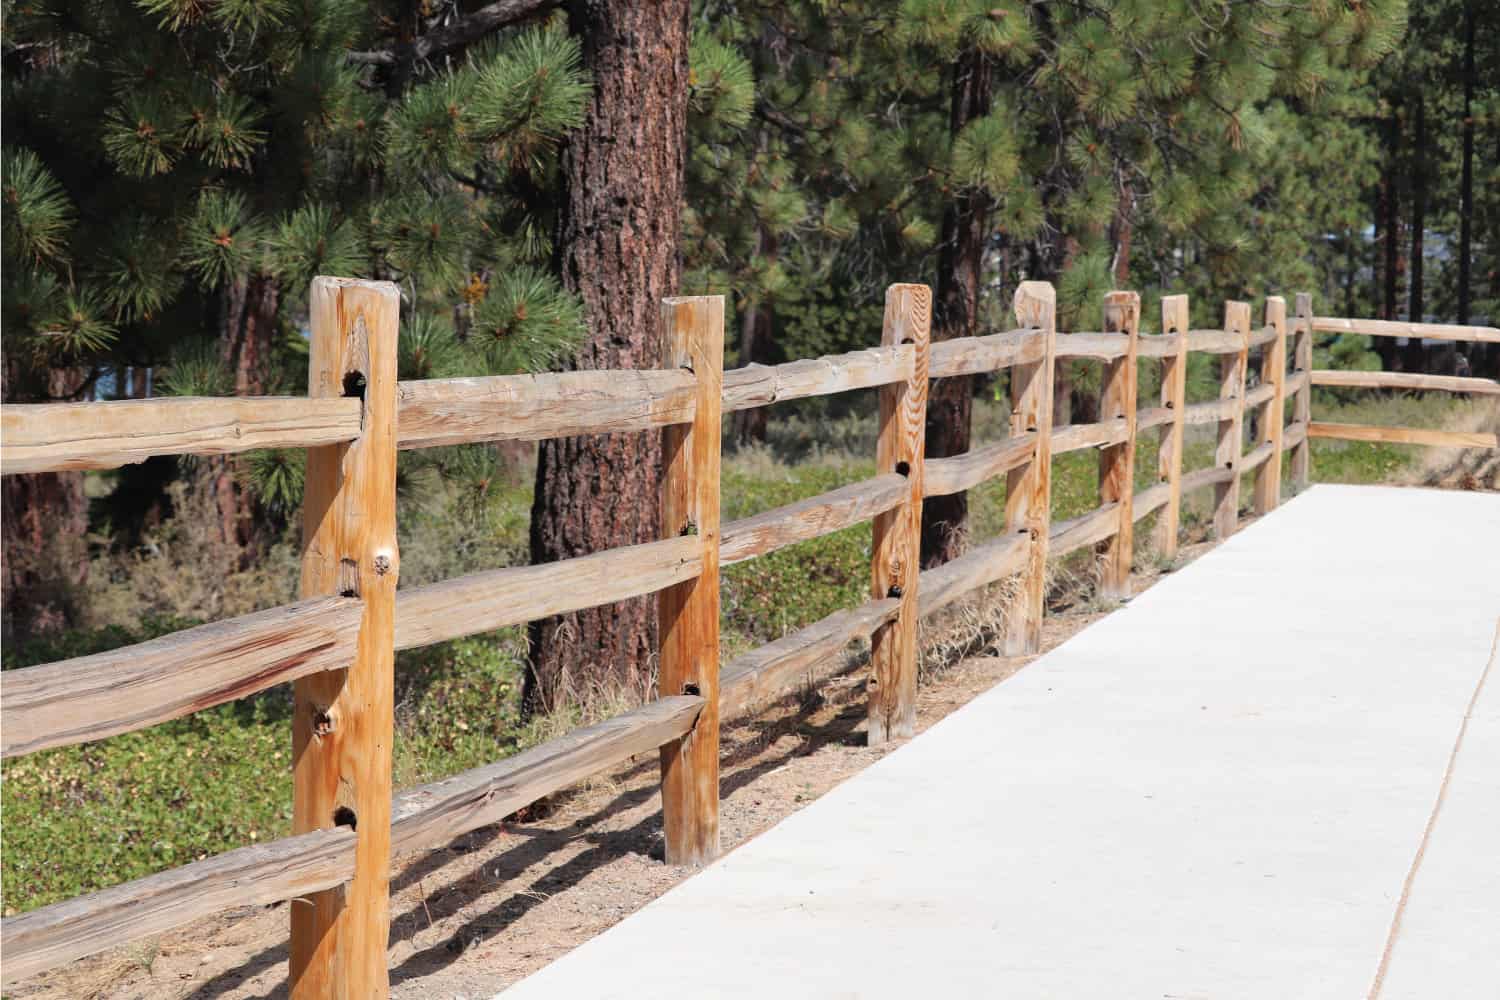
It is critical to understand how to properly install a split rail fence, especially if you want to extend the longevity of the wooden material. Let's tackle installing a wooden split rail fence, how deep the fence posts should be, and what tools you'll need since using concrete for setting the post is unnecessary. Please, read on!
How to Install A Split Rail Fence?
Before anything else, it would be best to prepare the tools and materials you will need for the installation to save time finding them when you are already starting the process. Additionally, having the appropriate tools will make it easier to finish your DIY fencing project. Please prepare the following:
- Spray paint
- Electrical tools
- Measuring tape
- Hammer
- Screwdriver
- Shovel
- Post hole digger
- Builder's line
- Saw
- Fence post driver
- Spirit level
1. Small Tools and Builder's Line
You have to plot out where you want your split rail fence to be. First, you should mark or line the first fence post. After that, utilize the measuring tape and builder's line to mark the locations of the following posts.
On the other hand, you can use spray paint to mark the spot for having a precise position of the second post. Additionally, using a spirit level will guarantee that your fence post is level on the ground.
Check out this builder's line on Amazon.
2. Post Hole Digger
If you want to dig holes easily without putting too much elbow grease, you should use a post-hole digger. It is a beneficial tool for excavating soil before setting your split rail fences.
Check out this electric post-hole digger on Amazon.
3. Electrical Tools
It is up to you if you want to use those conventional tools, such as a hammer and saw. However, installing or building a fence requires significant work, and using electrical tools is more manageable and will make your task a bit faster since you'll ve more comfortable using them.
4. Fence Post Driver
Utilizing a post-hole digger is indeed a great help. However, some posts will need to be driven farther into the ground. And this is where a fence post driver will come to the rescue.
Keep in mind that you will have to dig many fence posts, especially for a more significant project. And it is crucial to ensure that they are all at the same and proper height. Utilizing the spirit level in every post will guarantee that everything is all level.
Check out this fence post driver on Amazon.
Installation Method
- Get the shovel and the post-hole digger and excavate a hole with a diameter of 10 inches and a depth that you require, plus six more inches.
- Fill in the added six inches depth of the hole with gravel. Doing so will drain the existing moisture away from the fence post.
- Place the fence post in the hole and put the removed soil back. As much as possible, keep the post straight and compact.
- You have to ensure that you fill the ends first and that the fence posts face the appropriate way.
- Firmly tamp the soil down, then mound the soil around each post once you're sure it's secure.
- You should make sure that each fence post is at the correct height. And to check that, we suggest you drive a taut string to the upper part of the end posts as a guide.
- Excavate holes for your line posts, do the same procedure. Once all the line posts are in, you will now have to put the rails. And voila! Your split rail fence is complete.
What Is The Ideal Depth For A Split Rail Post?
The recommended measurement for your split rail fence post is 24 inches in depth and 20 inches in width. If you want to achieve a nice hole, use a post hole digger, and you have to make sure that the markers in your fence post line up.
In this process, you may need to add dirt to the hole or dig deeper to achieve the correct post height. From top to bottom, all posts must be linear. Use a four-foot level to guarantee that the wood does not warp.
You can keep the fence stable by setting it on compacted dirt or gravel. You can fill the holes with cement, but this may reduce the longevity of the post enveloped in it. So, we highly suggest not using it.
However, if you still want to set it in concrete, place the fence post in the hole, fill it with 12 inches of compacted dirt, and reload the rest with concrete.
Drainage is essential to the post's lifespan. If you plan to use concrete, this will create a concrete collar around the post while also letting dampness exhaust. You have to ensure that the end of the posts is not completely sheathed in cement, as this will cancel the warranty.
What Is The Recommended Spacing Between Split Rail Fence Posts?
The distance of every split rail fence post to each other will rely on how long they are. It would be best to ask the manufacturers about the length of each rail. Some of the rail choices obtainable are nine feet and 11 feet long.
Additionally, if you know the measurement, you can space them appropriately. It should be nine feet rails for every eight feet and 11 feet rail posts for every 10 feet.
How Long Do Split Rail Fences Last?
You can determine the lifespan of your split rail fences depending on the type of wood you are using. Cedar woods can last between 15 and 30 years. On the other hand, pine and spruce fences can only last half that length, even if they are treated or not.
Several factors impact the life expectancy of the wood materials, such as:
- Moisture
- Soil composition
- Climate
- Maintenance
For instance, harsh or extreme climates reduce the longevity of your fence by 10% to 15%. On the other hand, excellent wood materials and proper installation will extend the lifespan of the fence by 10% to 15%.
However, if you want to obtain lower grades due to a limited budget, you can always ask a paint or stain dealer what sealant would they suggest to help stop moisture deterioration.
In addition, it would be best to backfill post holes. Dirt as backfill is okay, but using gravel is way better to prevent water from reaching posts as the water drains away.
If you want to increase the lifespan of your fences, always remember to:
- Install the fence correctly
- Create proper drainage
- Seal the fence
- Stain the fence
- Control the grass and plants
- Use fence armor
- If you see a problem on your fence, fix it immediately
- Inspect your fence regularly
Wrap It All Up
You can use concrete to set your split rail fence posts, but as much as possible, do not do it. Since concrete will just reduce the longevity of your split rail fence posts, we highly suggest using gravel or compacted dirt.
We hope you find this article helpful. We'd love to help you out, so if you have any more questions, please feel free to leave a comment. And if you want to continue reading, you can check the posts below or visit our website for lots of articles to choose from.
How Long Does It Take To Dig A Hole With A Post Hole Digger?
How Much Does A Post Hole Digger Cost: Rental Vs. Purchase
Should Fence Posts Be Below Frost Line? [How To Prevent Frost Heave Posts]

