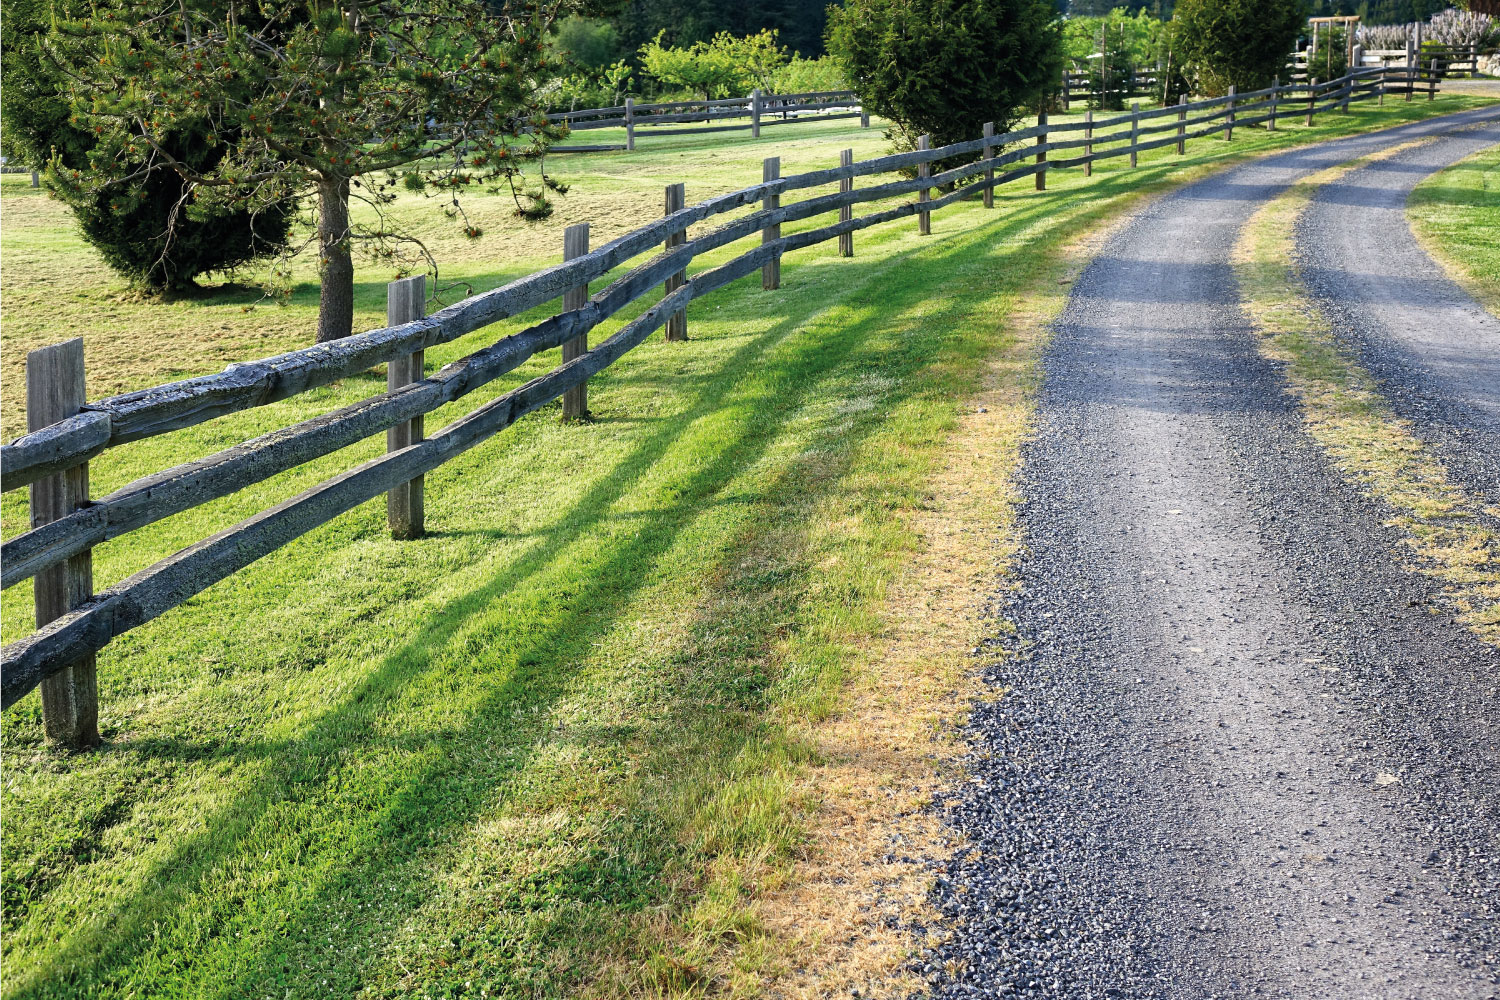
Split rail fences offer a better view and are less expensive than other fences. And you can build them almost anywhere you want! However, if you plan to install one, you might want to know split rail fence heights. To help you out, we have compiled all the information we gathered from thorough research.
There are three typical heights for a split rail fence:
- Two rails - 36 inches tall
- Three rails- 48 inches tall
- Four rails - 60 inches tall
If you think none of these three can fit your fencing style or security preferences, you can always opt to go for fence customization. Before installing split rail fences, it would be best to keep reading to know more about them. Further, we might also be able to answer some of the additional questions you have.
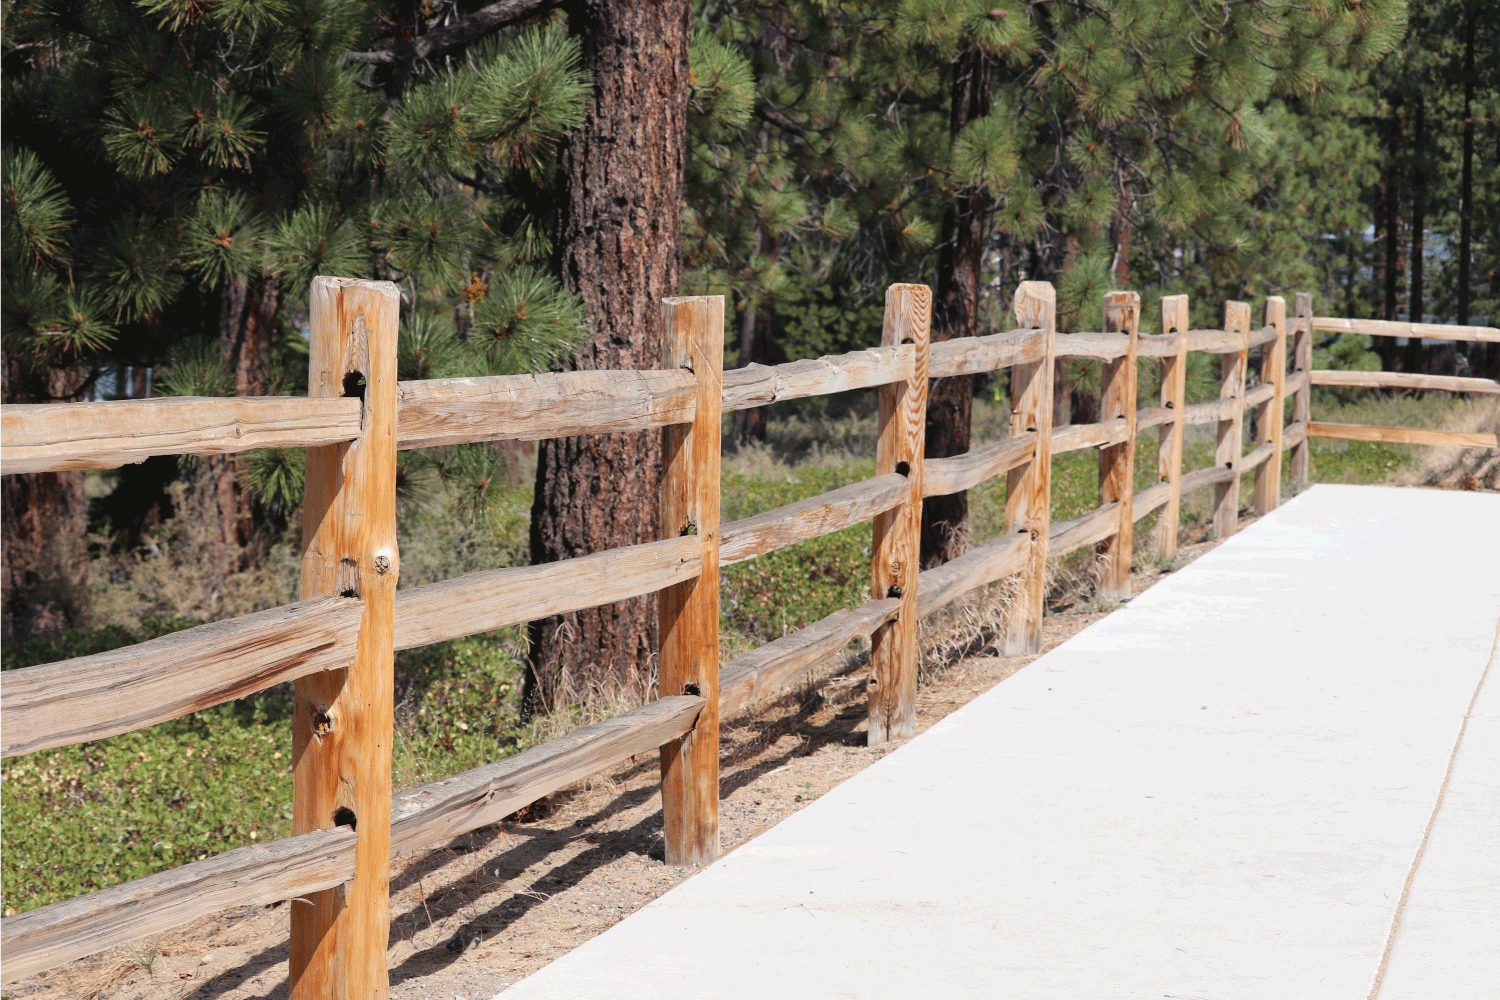
![split rail fences in 2 3 4 rails configuration, different farm area photos. How Tall Are Split Rail Fences [Inclding 2, 3, & 4 Rail Heights]](https://fencefixation.com/wp-content/uploads/2022/06/split-rail-fences-in-2-3-4-rails-configuration-different-farm-area.-How-Tall-Are-Split-Rail-Fences-Inclding-2-3-4-Rail-Heights.png)
Where To Use Split Rail Fencing?
Split rail fencing has numerous purposes or uses, such as:
- Using split rail fences can add rustic attractiveness to your property
- This fence can provide a space to post decorations or sign boards
- You can use it to define a long property line
- Great to use when separating two vast portions of land
- Split rail fences can designate an area of a property, such as a petting zoo or a garden
- Best fence type to use for containing livestock
Advantages Of Split Rail Fences
There are reasons why we highly suggest installing split rail fences on your property. Aside from the rustic looks and the security that this fencing can provide, we can name even more advantages offered:
Cost-effective
Even if you plan to surround your entire property or ranch with split rail fences, expect that you will spend less money compared to other wooden fences. And you can determine the actual price on what type of high-quality wooden material you would use.
Easy To Install
In addition, the installation process is straightforward so you can do it alone with the right equipment or you can ask a supplier for free installation. However, the tools to use for the installation are just the basic tools, so you probably have them all in your storage shed.
Lastly, if you plan to purchase the fencing materials online, the transportation fee might also be free.
Durable
The wood available is all long-lasting. However, if you opt to use a high-quality wood material like the Southern Yellow Pine from a reliable manufacturer, you don't have to worry about the fence maintenance for the years to come.
Easy To Customize
Split rail fences can add a very distinct attractiveness to your property such as a ranch or garden space. A significant benefit is that you can straightforwardly modify split rail fences to match your surroundings.
Disadvantages Of Split Rail Fences
Before you decide to buy split rail fences, it is crucial to also know the disadvantages they hold.
Not Suitable For Pets Or Children
If you are planning to use split rail fences for your dogs, cats, or children, then that is not a good idea. Manufacturers make split rail fences mainly to contain livestock. So, using them for your small pets and children is not advisable since they can easily crawl under or climb up the rails.
Does Not Add Privacy To Your Home
We all know that split rail fences are so open, which means they cannot give enough privacy or strong security for your property. Indeed, it can add definition to your property boundaries, however, it is not ideal to use as a deterrent against wild animals or trespassers.
How To Build Split Rail Fences?
If you plan to do a DIY installation of a split rail fencing, it would help to follow the guidelines below:
1. Determine The Spacing
You can do this step by simply performing a dry-assembly method. Dry-assemble a fence section and take the measurements of the distance between the fence posts. Additionally, it would be best to ensure that the fence posts are square to the fence rails before you start measuring.
2. Set Up A Fence Path
Set up a string line with stakes and mason's string for the path of your fence. And that path should include return sections and corners. Lastly, it would be best to mark each fence post location using a plastic tag and nails.
3. Excavate Post Holes
In this step, you should dig postholes that are two times wider than the fence posts and with a depth of six inches plus one-third of the total fence post length.
Furthermore, split rail fence posts differ in size, so we suggest you lay out the fence posts first. Dig the posts holes once you finish laying it out, base the hole sizes according to the post size requirements.
4. Add Proper Drainage Using Gravel
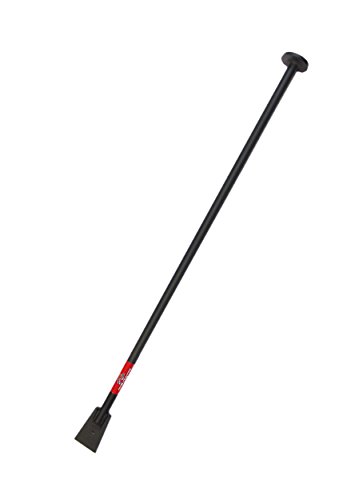
It would be best to put six inches of drainage to each post hole using gravel. After that, you should tamp the area as compact as possible. You can use a 2x4 or a digging bar to ensure that the area you are working on is flat and level.
![]()
See this digging and tamping bar on Amazon.
5. Place And Measure The First Fence Post
Drive the fence post into the hole and keep it plumb. After that, measure it from the ground to the height you want. And if needed, you can remove or add more gravel to adjust the height of the fence post. Re-tamp afterward.
6. Brace The Fence Post
To make your fence posts plumb, it would be best to secure them with cross bracing. Add two inches of gravel around the base of the fence post. Tamp it thoroughly but carefully so you don't get to disturb the post.
7. Fill The Holes And Tamp
Fill in the post with dirt and gravel, and tamp around it. However, you must do this one layer at a time. And you should alternate between two inches of gravel and four inches of dirt. Tamp every layer thoroughly.
Examine the post for plumb as you do the task. Lastly, you should fill the upper part of the hole using soil and compact it into a firm pile to assist in shed water.
8. Build The First Section Of The Fence
You can build the first section of your split rail fence by putting the next fence post in its hole and examining the height.
So, to do this step, you should install the rails in the post mortises before securing the second post in place. Make sure all the fence posts are the exact height above ground for a contoured fence.
9. Level The Top Of The Fence (Optional)
If you want your fence to stay level across the top, you can place a mason's line at the top of two installed fence posts. You can also do this in between brief supports. Ensure that the tops of all of the fence posts touch the mason's line.
10. Secure All The Following Posts
Like what you did in the first fence post, fill and compact the second post with alternate layers of soil and gravel. And to finish the fence, repeat the steps from 5 through 9. Lastly, it would be best to set up a mason's line to maintain the posts in a straight line while you are putting them in place.
How To Add Extra Security On Split Rail Fences?
As mentioned above, a split rail fence is not suitable for small animals or children. The reason is that they can fit through the horizontal slats of the fence.
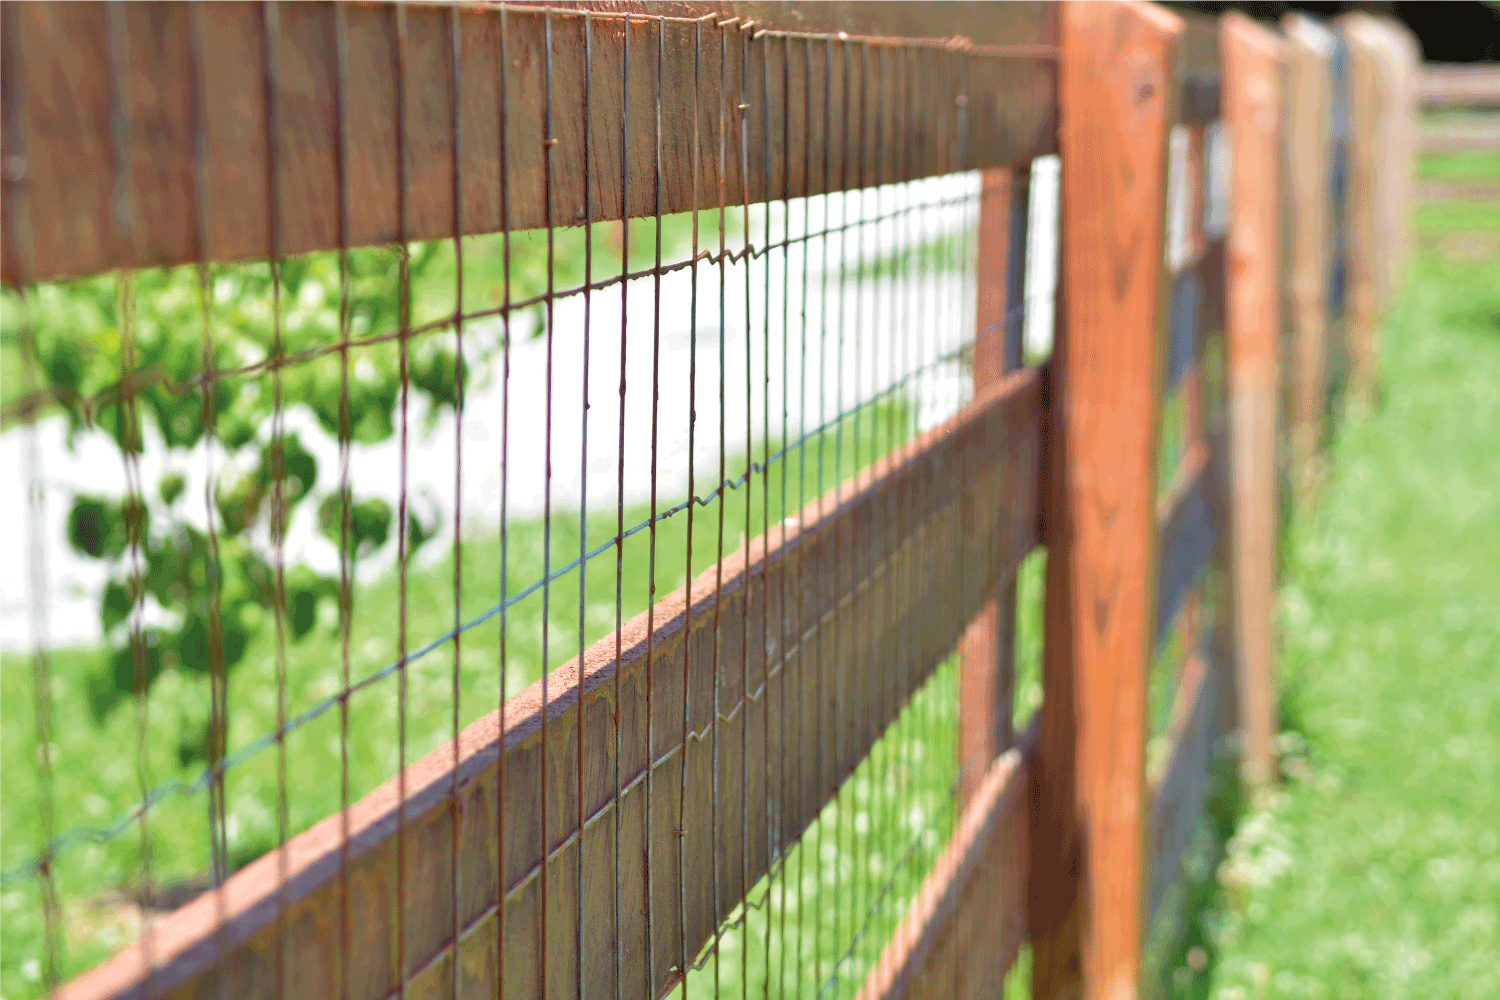
So, if you want to contain your children and small animals inside your property, you can opt to have your split rail fences installed with a wire mesh.
This mesh will maintain the rustic appearance of your split rail fence while keeping your children and small animals inside your property.
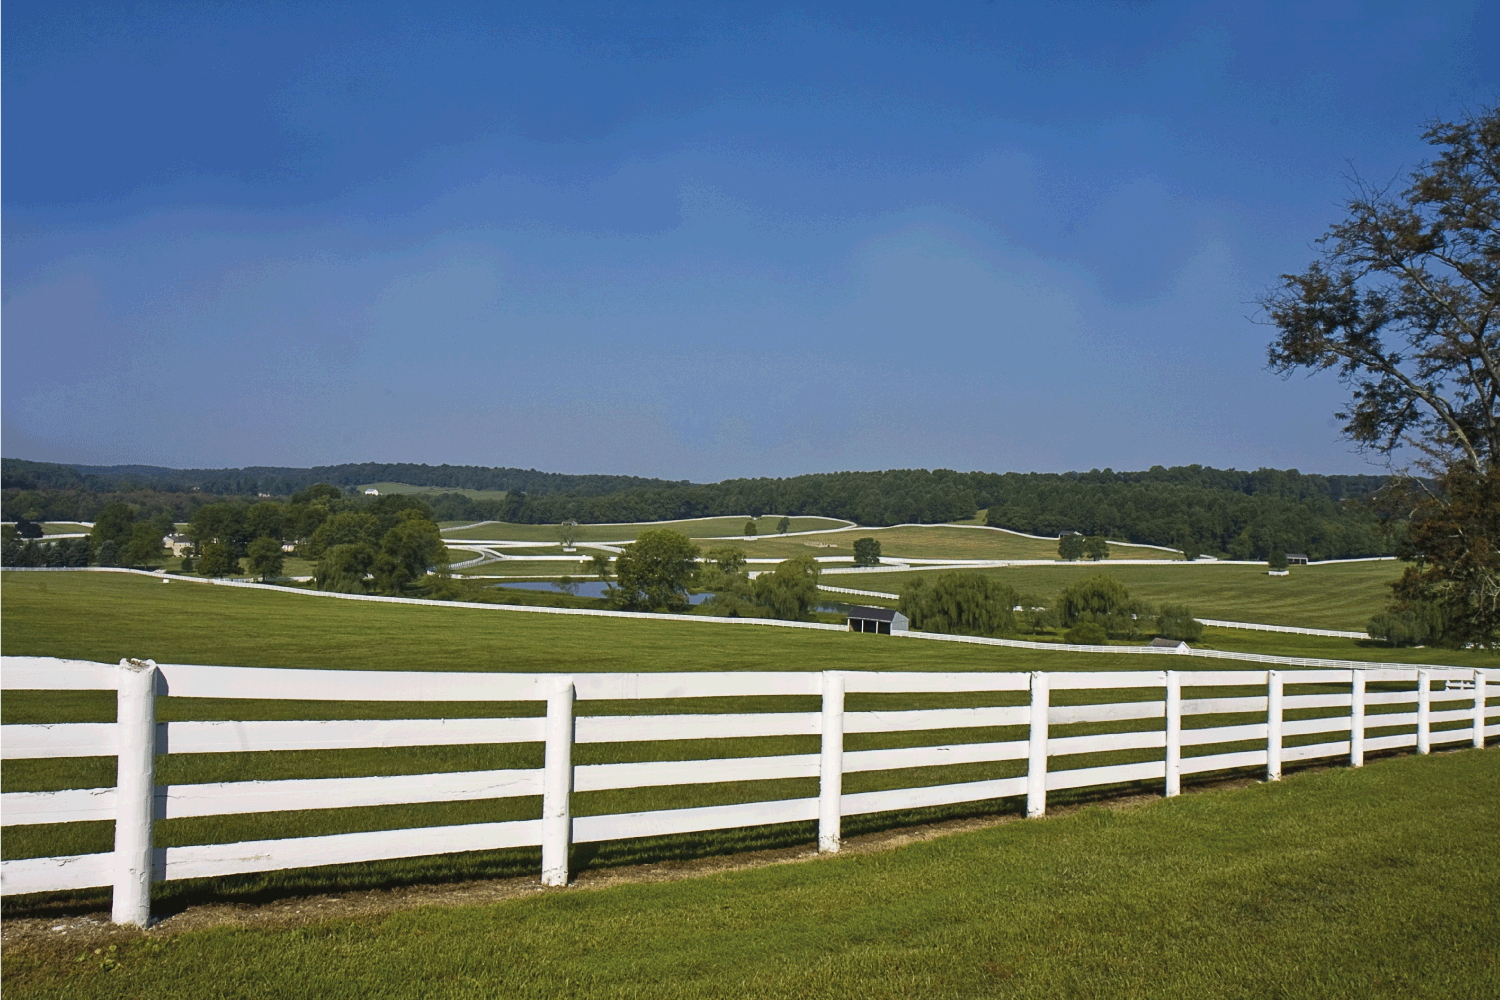
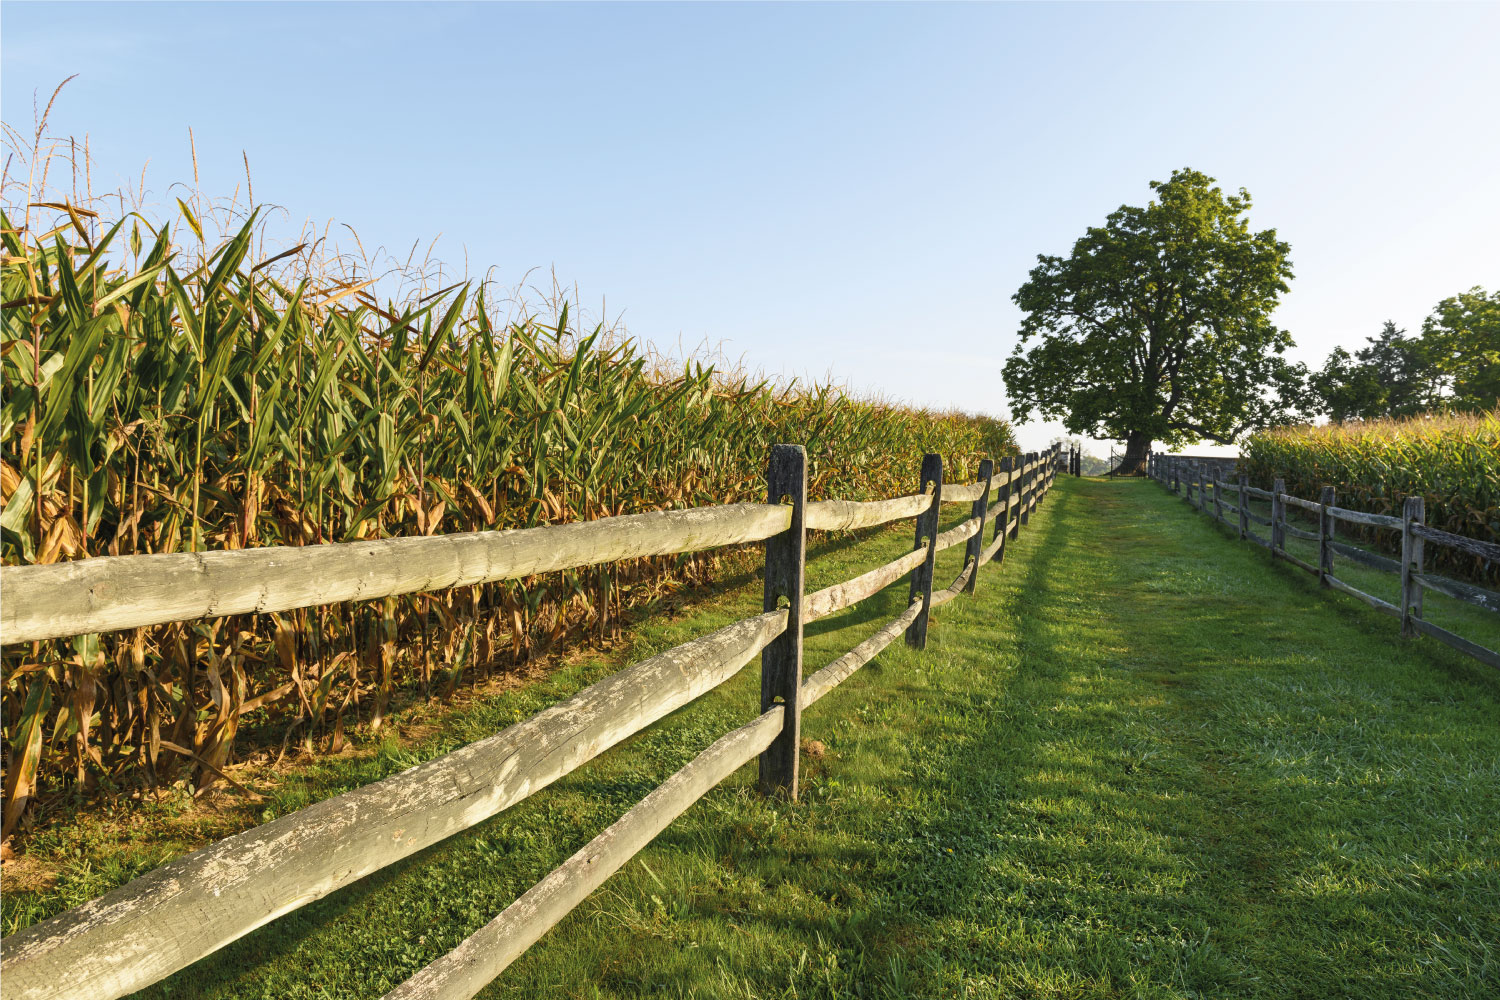
![White rail fence leading along cornfield and deep blue sky. How Tall Are Split Rail Fences [Inclding 2, 3, & 4 Rail Heights]](https://fencefixation.com/wp-content/uploads/2022/06/White-rail-fence-leading-along-cornfield-and-deep-blue-sky.-How-Tall-Are-Split-Rail-Fences-Inclding-2-3-4-Rail-Heights.png)
Wrap It All Up
Depending on the size of your animals, you can choose between the three sizes of split rail fences. Or you can have your fences customized according to your preferences.
We hope you find this post useful. If you have any more questions, you can leave a comment below. And if you want to read further, you can check the other articles below or visit our website for numerous posts to choose from.
5 Types Of Fence Post Caps [How To Choose For Your Type Fence]
How Long Does It Take To Dig A Hole With A Post Hole Digger?
Should Fence Posts Be Pressure Treated? [And How To Prevent Rotting]
![A grass meadow and a small fence next to a small pond, How Long Does Split Rail Fence Last? [And How To Prolong Its Life]](https://fencefixation.com/wp-content/uploads/2022/06/A-grass-meadow-and-a-small-fence-next-to-a-small-pond-600x400.jpg)