Are you planning to install a chain-link fence, and you’re wondering how to stretch it so that you can install it on the opposite post? Wonder no more, for we have researched this question, and we have the answer for you.
Here are the summarized steps to stretch your chain link fence:
- Attach a tension bar close to the end of the chain-link fence.
- Connect the tension bar to a chain-link rake.
- Connect one end of the power puller to the chain-link rake.
- Connect the opposite end of the power puller to the terminal post.
- Stretch the chain link fence using the power puller.
- Insert another tension bar on the end of the chain link.
- Fasten the tension bar to the terminal post.
Read the detailed instructions in the succeeding sections. We also included some tips and tricks that you can use when installing your chain link fence. Read on!
How to stretch a chain-link fence?

Here are the detailed steps on how to stretch a chain-link fence.
Materials Needed
Here are the materials that you will need:
- 2 Tension bars
- Chain link rake
- Power puller, chain walker, or ratchet strap
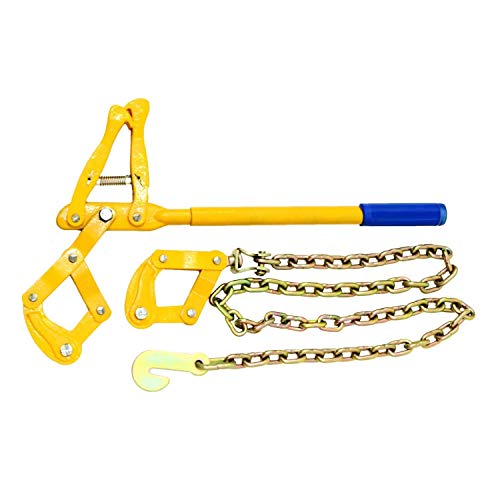

The Nisorpa chain fence stretcher tensioner is available on Amazon. Check it out through this link.
Stretching A Chain-link Fence
Tension Bar Attachment
Insert a tension bar 4 to 5 feet from the end of the chain link. Make sure that the tension bar is inserted into each of the diamonds of the chain link. The purpose of the tension bar is to distribute the pulling force that you will apply.
Without the tension bar, there would be an uneven distribution of force on the chain links. An uneven application of force will distort the diamonds, causing some to get stretched more than others.
Hook the chain-link rake on the tension bar. Make sure that the three hooks of the chain-link rake are connected to the tension bar.
Position the chain-link rake in the middle of the tension bar to ensure that there is an even distribution of force. You can also make a DIY chain link rake by following the steps below.
- Get a 2X4 that is 3 to 4 feet long.
- Insert 3 large hooks on one of the long edges of the 2X4—one on each end and another one in the middle.
- Insert another large hook on the opposite edge.
Power Puller or Chain Walker
Connect the middle of the chain-link rake to one end of the power puller.
- If you’re using a ratchet strap, connect a metal hook to one end that you can hook to the middle of the chain-link rake. The opposite end of the strap can be wrapped around the terminal post and then into the ratchet strap.
- Using a chain walker is similar to a power puller. The only difference is how you fasten the end of the chain-link rake to the chain walker. Make sure that the links of the chain are in a straight line before starting to use the chain walker to stretch the chain links.
Connect the opposite end of the power puller to the terminal post. Use the power puller to slowly pull the chain-link towards the terminal post. Keep in mind that you should not over-stretch the chain links.
Maintain the tension on the power puller and pull the chain-link fabric 4 to 6 inches away from the posts and shake it a little to loosen the chain link fabric. Do this every 10 feet until you’ve shaken the entire length of the chain-link. This should loosen any chain links that have not stretched properly.
Once you’re done, the total tension should allow you to squeeze one of the diamonds by a quarter of an inch with one hand. However, while you’re stretching it, it is ok to pull it a little tight since you will later add the looseness of the rest of the chain link beyond the five-foot length where you inserted the first tension bar.
Check the Tension
Try to squeeze one of the diamonds to check the tension. If you can squeeze one of the diamonds to more than a quarter of an inch, then you need to crank the power puller once more.
After you crank the power puller, pull the fabric, and shake it a little once more. Repeat this process until you’ve achieved the right tension on the chain links.
- Once you’ve achieved the right tension on your chain link, insert the second tension bar into the chain link at the end. Make sure that your tension bar is inserted into each diamond on the chain link and in the right direction.
- Remove any extra chain link from the fence fabric.
- Fasten the second tension bar on the terminal post.
- Release the power puller, then release the chain-link rake, then remove the first tension bar.


The TEKTON 2-ton dual gear power puller is available on Amazon. Check it out through this link.
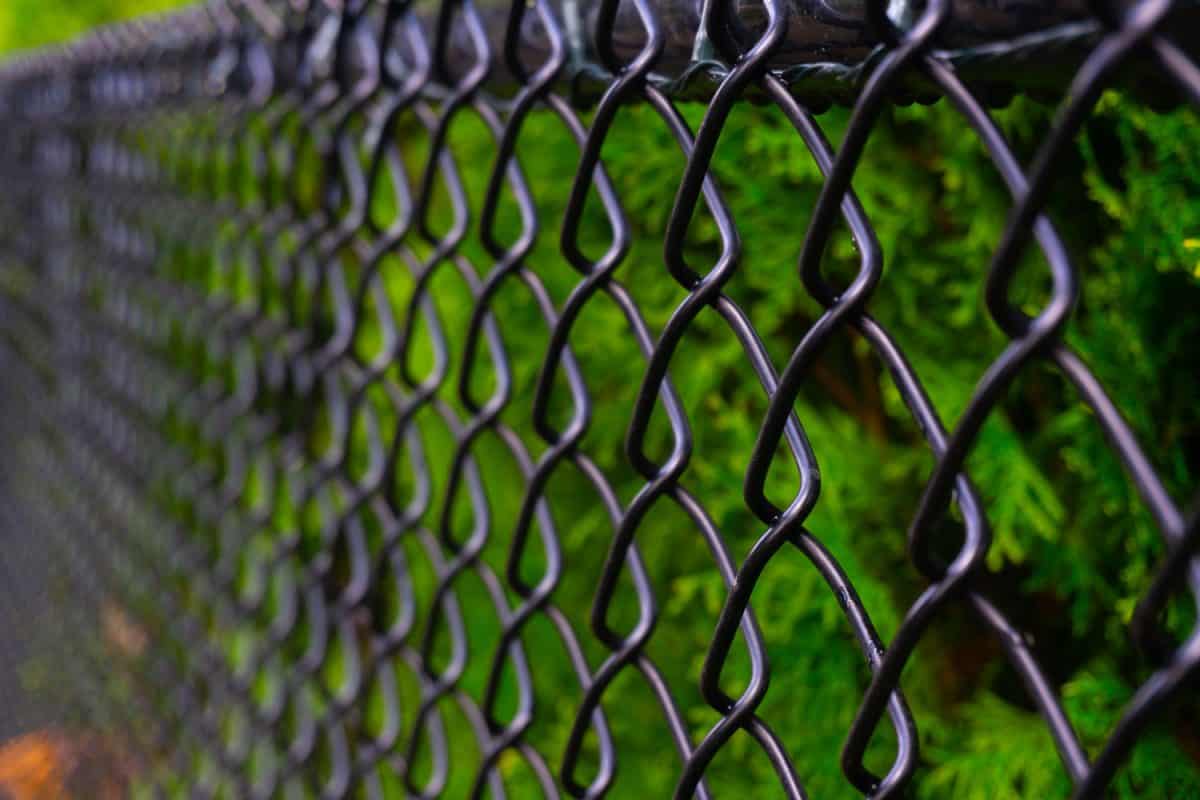
What is the wire at the bottom of a chain-link fence?
This wire is called a steel tension wire. This wire is used to keep your chain link stretched vertically. The steel tension wire at the bottom also keeps the chain link in position at the bottom of the fence to prevent animals like pets from getting through the bottom of your chain link fence.
The steel tension wire runs between terminal posts, line posts, and gate posts.
Contrary to what some people think, the steel tension wire is not woven into the chain-link fabric. The chain link fabric is fastened to the steel tension wire with hog wire every two feet or so.
How to install tension wire on a chain-link fence?
- Insert a brace band on the line post or terminal post. Position the brace band an inch above the ground. Tighten the fastening bolt to secure the brace band in place.
- Insert the end of the tension wire into the brace band with an excess of 6 inches of length.
- Fold the excess 6-inch end over the long end of the wire. Twist the excess 6-inch end around the long end of the wire at least six times.
- Install another brace band on the next line post or terminal post following the steps above.
- Connect a power puller to the end of the tension wire a few feet from the post.
- Connect the opposite end of the power puller to the post.
- Carefully stretch the tension wire using the power puller.
- Once you’ve achieved a good tension, fasten the end of the tension wire to the brace band following the steps above.
- Release the power puller.
- Fasten the bottom of the chain link fabric to the tension wire using hog rings every 2 to 3 feet. You can install hog rings at shorter intervals if you need more strength to prevent pets from getting through.
- Repeat the steps above to install the tension wire between the other posts on your fence and to install the chain link to the tension wire.
How far apart are posts on a chain-link fence?
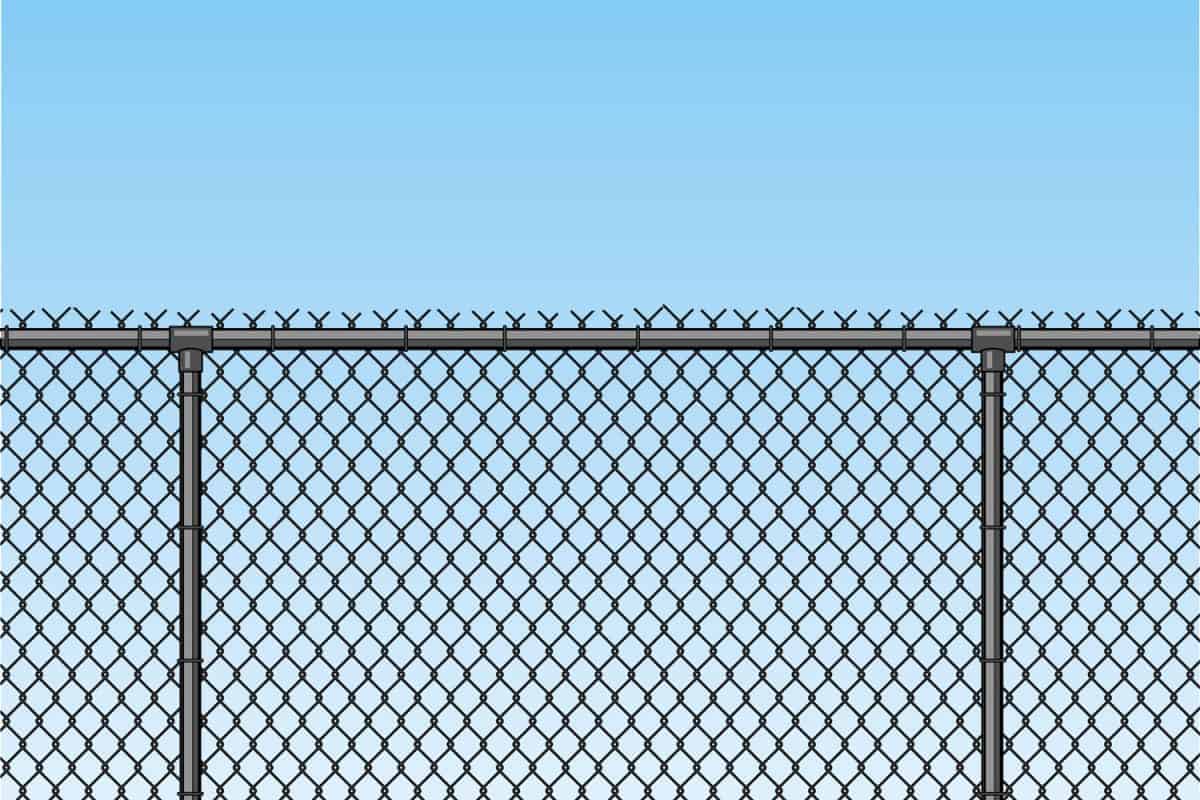
There are three types of posts on a chain-link fence.
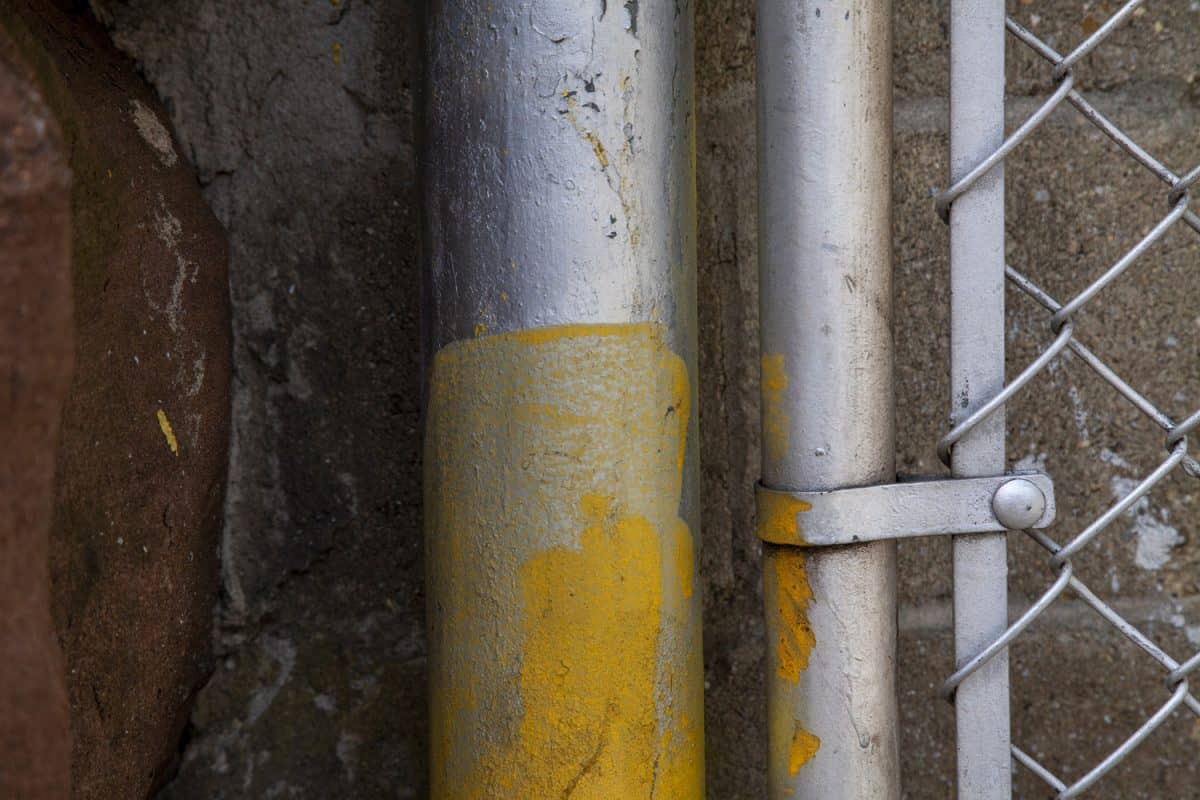
Terminal Post
The first type is the terminal post. These posts are installed on the corners of the fence perimeter. They are built thicker than line posts because they support the most tension in the chain-link structure.
The distance between terminal posts can be different on every fence because they are installed only on corners and where the fence terminates to make room for a gate.
Gate Posts
Gate posts are a special type of terminal post. They are similar to terminal posts in structure, but they have additional features to accommodate the installation of different kinds of gates, including automated gates. The distance between gate posts depends on the size of the gate that will be installed.
Line Posts
Line posts are less thick than terminal posts. They are made to provide vertical support to the chain link between terminal posts.
Line posts are normally installed 10 feet apart or less. Never install posts more than 10 feet apart. This applies to the distance between terminal posts and the first line post.
Installing privacy slats on your chain link fence will increase the wind load. Install your posts at 6 to 8 feet from each other to compensate for the increase in wind load.
If the typical wind strength at your place is high, reduce the distance between posts to increase the support strength that your posts provide.
Conclusion
There are several tools that you can use to apply tension to a chain-link fence to stretch it—a power puller, chain walker, or a ratchet strap. However, the basic process of inserting a tension bar and using a chain-link rake to pull the tension bar remains the same to evenly distribute the force coming from the stretching tool.
If you enjoyed reading this article, you might find the articles below equally enjoyable to read: