Setting fence posts can be a difficult task, but it supports the fence and makes it withstand any pressure if properly installed. When setting a fence post, you may be wondering if it should be below the frost line or not. Fortunately, we have made thorough research for you, and here is what we found.
The fence post should seat below the frost line so heaving can be prevented. It is recommended to seek advice on local codes for specific requirements since every region has its frost depth. Follow these steps to prevent frost heave posts:
- Dig a hole using a digger.
- Add more depth while forming a bell shape.
- Make a drainage bed.
- Prepare the concrete mix.
- Set the fence post.
A frost heave can make fence posts lean and should be prevented. Keep reading to get detailed information on how to prevent frost heave posts.
![Dig a deep hole in the soil to pour mortar on the fence posts to strengthen the foundation - Should Fence Posts Be Below Frost Line? [How To Prevent Frost Heave Posts]](https://fencefixation.com/wp-content/uploads/2022/05/DIG-A-1-800x1200.png)
What Is The Frost Line?
The frost line, or frost depth, is the depth at which groundwater freezes. This line varies from place to place. The best way to determine your frost line is to contact your local building codes agency for the necessary information.
Should Fence Post Be Below The Frost Line?
It is recommended to set fence posts below the frost line. Frost lines should be considered when laying or setting a post because they expand as water freezes by a volume of 9%. How deep the frost line freezes depends on the severity of the winter.
Frost heaving is the upward swelling of underground soil or other deposits due to the expansion of underground water during the freezing processes. A frost heave can move any structure so it is better to set fence posts below the frost line.
How To Prevent Frost Heave Posts
To avoid frost heaving, you should lay a drainage bed in the hole before pouring the concrete. Make sure to consult your local utility company so you will know where electric lines pass through before digging your post hole. Here are the step-by-step procedures for preventing frost heave posts:
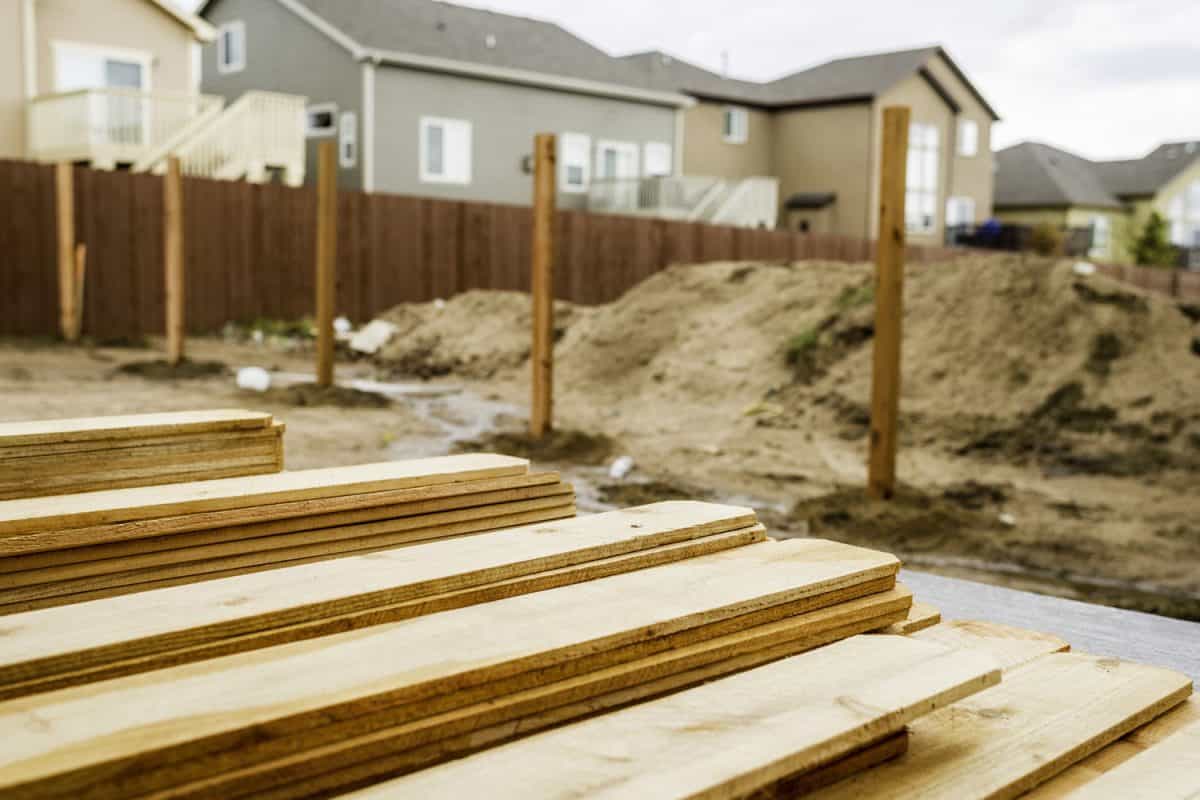
Step 1: Dig A Hole Using A Digger
Dig your fence post hole. The hole should be at least two feet deep. One of the most common ways to avoid the frost heave of fence posts is to ensure the hole is deeper than your region's frost line. Make inquiries to know the local frost level and try digging at least six inches deeper.
You should consider the height and style of your fence because a tall fence will require deeper holes. A fence's stability depends on the depth of the post hole. You should dig around the hole to make it one foot down and 10 inches in diameter.
Step 2: Add More Depth While Forming A Bell Shape
Next, try making a bell shape as you dig more. Ensure that the top of the hole is not larger in diameter than the bottom of the hole so the concrete won't come out of the soil.
Step 3: Make A Drainage Bed
Put a 3/8 inches layer of pea gravel in the base of the hole. Pea gravel, also known as pea shingle, are small pebbles used to make foundations for underground projects.
Scatter the pea gravel across the base of the hole with a paint stick or any other object. This is done so water can drain under the post whenever it rains since water will move past the post and concrete to the base.
This prevents frost heaves, but it also helps to protect the fence post from rotting as a result of water buildup.
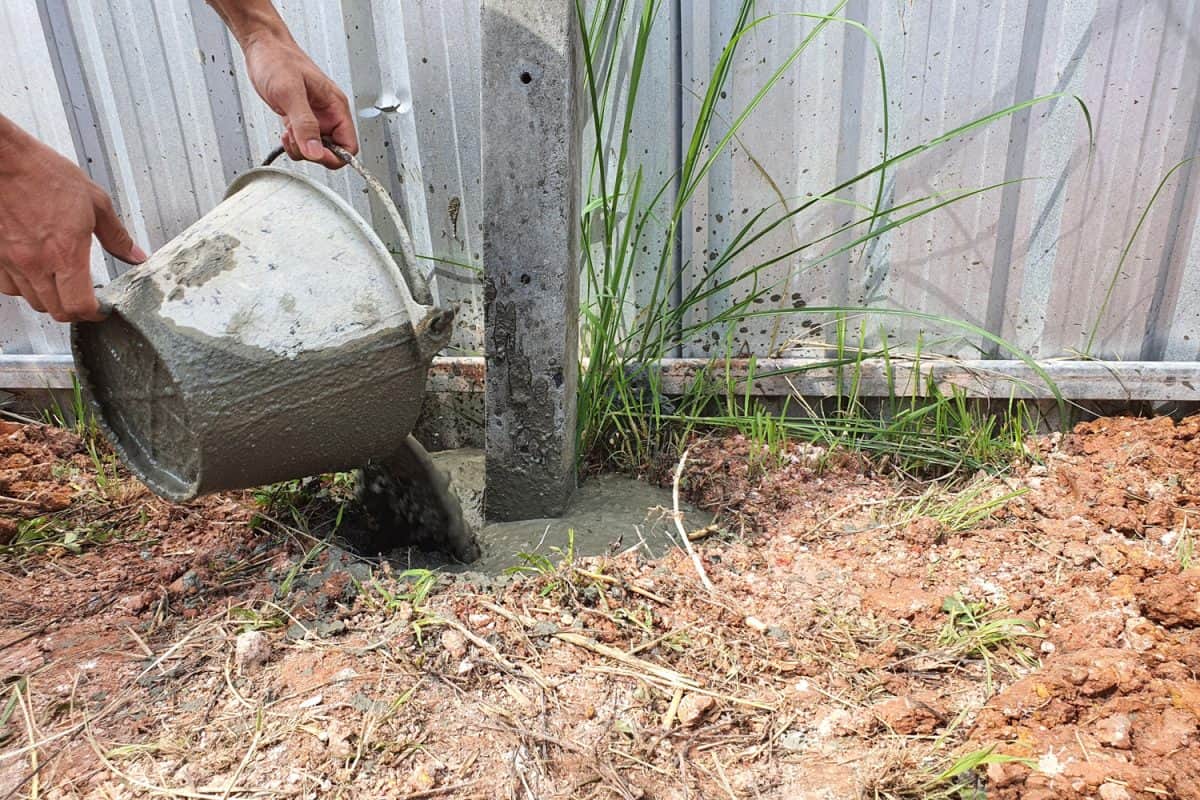
Step 4: Prepare The Concrete Mix
Mix the concrete with water and stir until it is slightly thick so it can be easy to pour. Make sure to follow the instructions provided on the bag for your particular concrete.
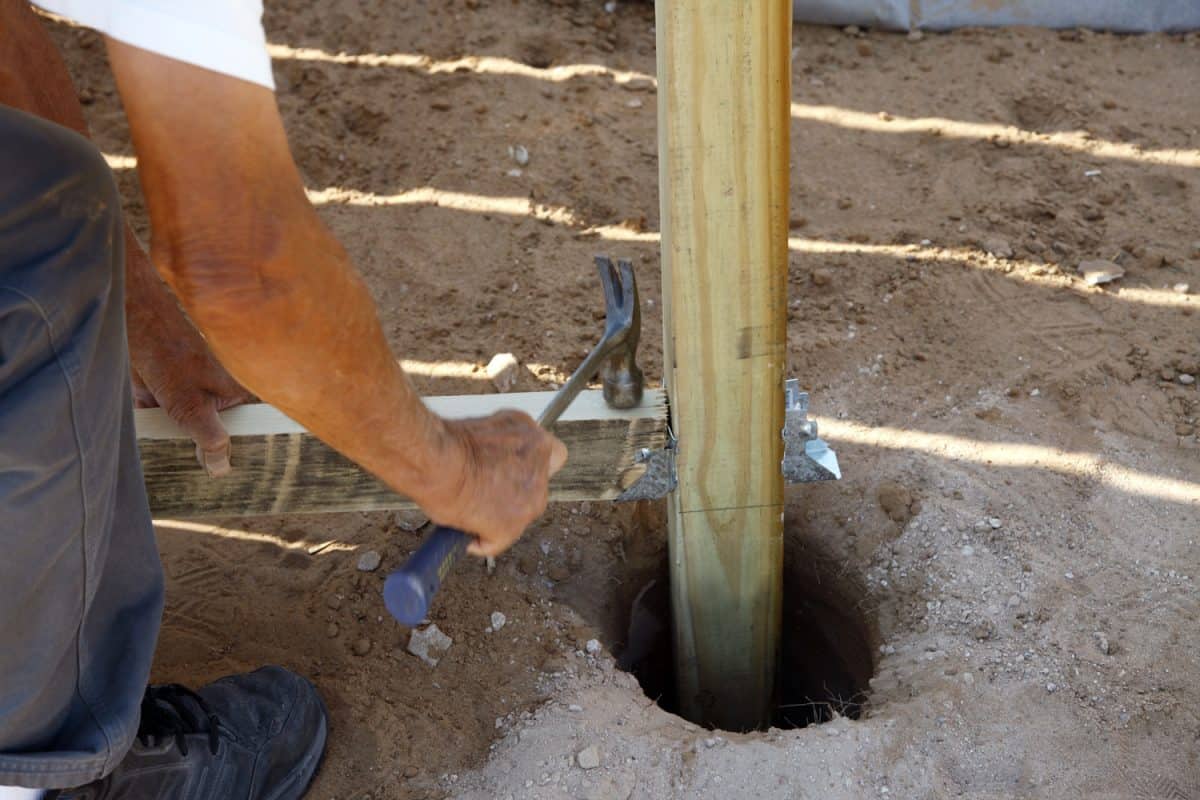
Step 5: Set The Fence Post
Insert the fence post into the hole. When doing this, you will need another person to help you hold the post as you set it in the middle so you can check the levelness. Pour more pea gravel into the post hole - at least six inches. Next, check the post's levelness and support it on the two sides.
Pour the mixed concrete into the hole and ensure that it is at least six inches from the edge. Give the concrete 24 hours to cure. But if the outside temperature is below 60 degrees, allow it to cure for 48 hours. Then remove the support on the two sides before filling the upper portion with soil.
How Deep In The Ground Is The Frost Line?
The depth of a frost line depends on the latitude; it is the depth at which groundwater is capable of freezing during frigid temperatures. The frost depth varies from one region to another. The highest frost depth in the United States ranges from zero to 100 inches.
In most states in the US, frost depth is between zero to upwards of three feet, as per the Federal Highway Administration. It is believed that the coldest regions will have the deepest frost lines.
What Causes Frost Heaves?
A frost heave is caused by the expansion of soil during freezing. Frost heave occurs in regions with low temperatures. For a frost heave to take place, sufficient moisture needs to be available in the soil to cause an expansion.
Frost heaves are more likely to occur in loam and clay soil because of their high moisture content.
What Are The Effects Of Frost Heave On the Fence Post?
If the soil below the post freezes, the post will be moved upwards by expansion. When the ground begins to melt, everything becomes normal again. But the posts may start to loosen when the cycle of heaves happens constantly. As a result, the fence begins to lean.

Can You Repair Frost Heave Posts?
If your fence post starts leaning or developing other issues due to frost heave, you should tackle the problem as soon as possible. Heaved fence posts can be repaired without the help of professionals. Here are step-by-step procedures for repairing frost heave fence posts:
Step 1: Separate The Section From The Post
The first thing is to detach the damaged section from the post. If it is a wooden fence, you can just remove the nails. This first step is simple and it takes just a few minutes when a power drill is used.
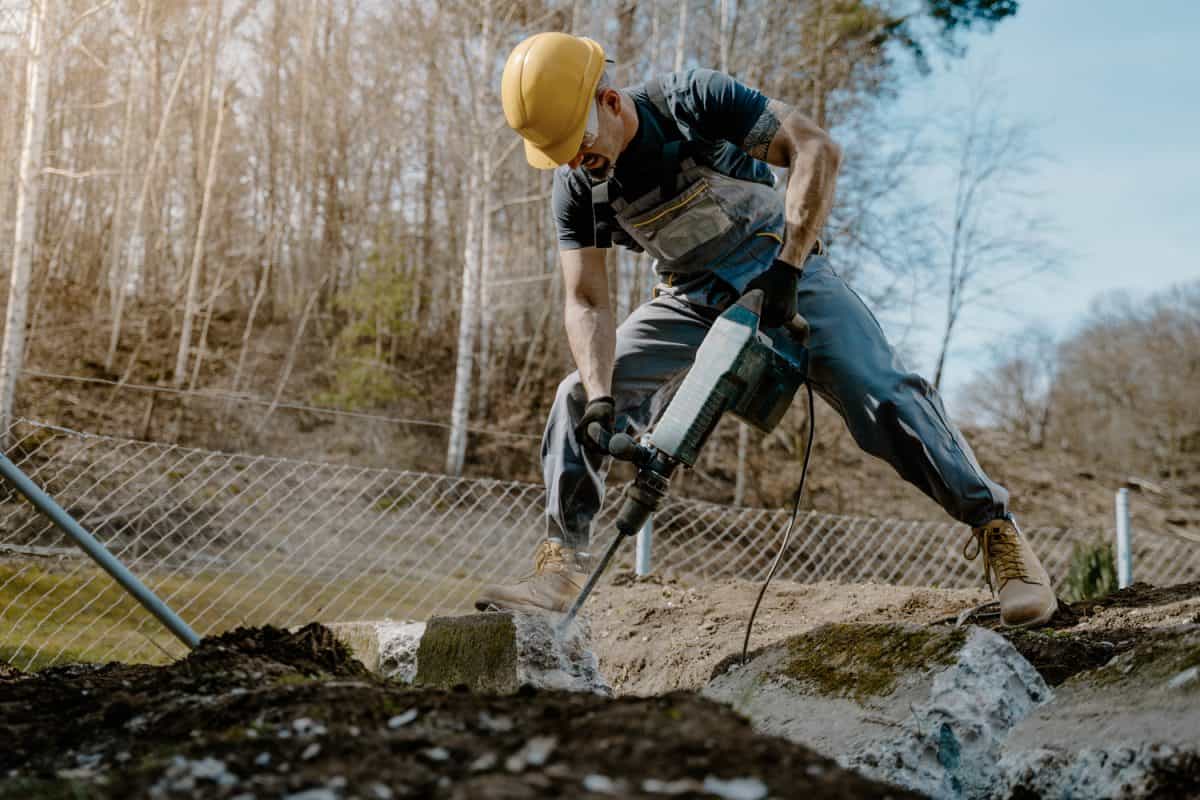
Step 2: Remove The Fence Post
In this step, you can make use of the sledgehammer to smash the concrete off. If that would be difficult, you can buy a new post.
Step 3: Clean Out The Hole
After removing the fence post and breaking off the concrete, clean out the hole and dig deeper to get below the frost depth - at least 42 inches. You should reach 48 inches if you can. Make sure to clean the hole very well.
Step 4: Set The Post
Set your new post in the hole and fill it with concrete. Ensure that the new post is in line with the other part of the fence and the section that was reattached.
At What Temperature Does Frost Heave Occur?
Frost heaves usually happens in spring but can form when there is a frequent change in temperature above and below 32 degrees Fahrenheit. Frost heaves happen when cold air and solid moisture combine. As the cold goes into the ground, the water in the soil freezes.
Final Takeaways
To prevent frost heave posts, always install your fence post below the frost line. Frost heave can cause severe damage that can be fixed. But it is better to prevent them to save yourself the stress of fixing your post.
If you enjoyed reading this post, here are similar articles you may like:
How Long Does A Creosote Fence Post Last?