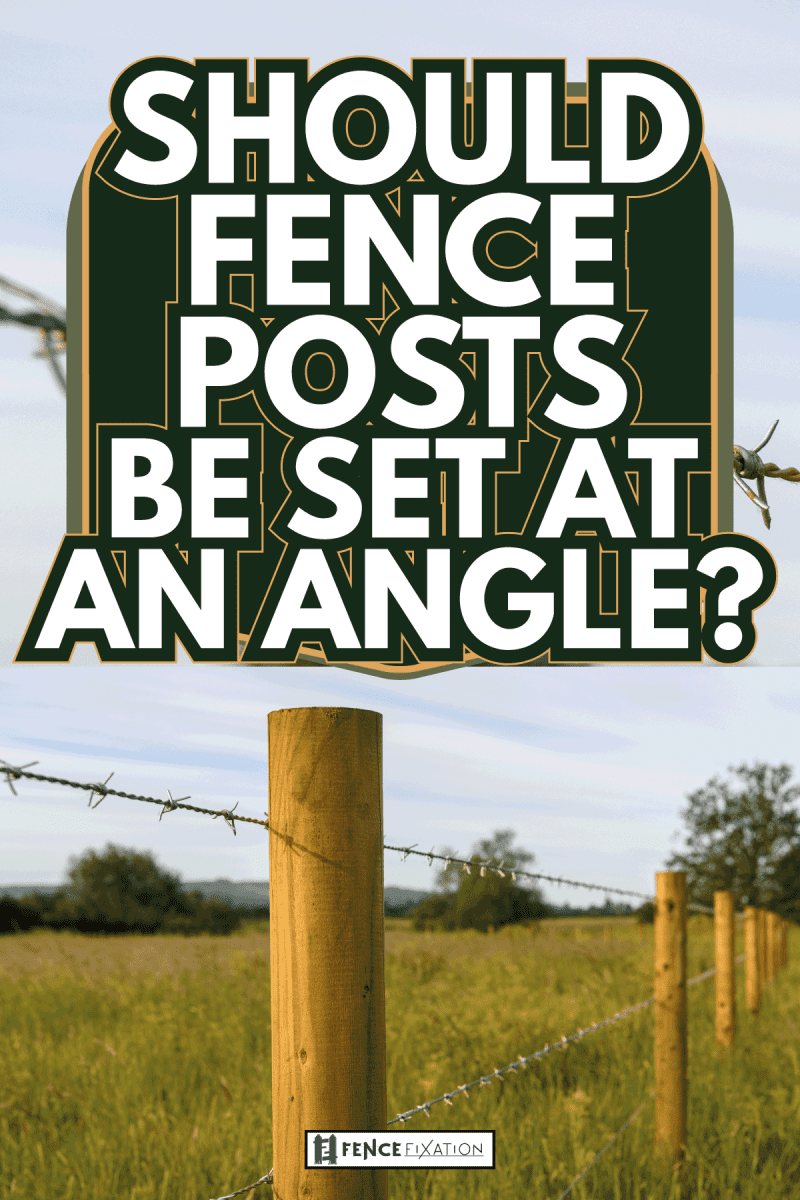
You probably moved into a home or restructuring, which would include an installation of wooden fencing. However, it is often essential to determine if the fence posts should be set at an angle for such a project. To get an accurate answer, we have done thorough research. Here's what we found.
While setting up a fence, the angles must be sharp and straight, and the angles must be precisely aligned. For example, if you enclose an area with four fences, the corners need to be 90 degrees for the segments to line up correctly.
As you read further down this post, you will find much more detail on all the factors you need to consider if you decide to set up your fence at an angle.
Angle Cutting Fence Posts
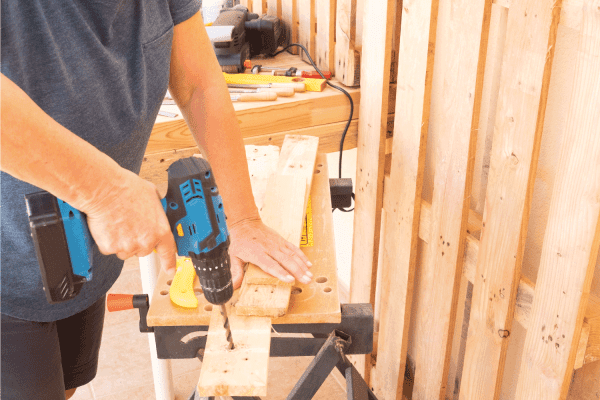
When cutting fence posts, use a circular saw for a cleaner cut because it gives you more control. A 7-1/4-inch circular blade isn't long enough to slice through a four-by-four-inch post, for that, you'll need to cut through twice.

Materials & Tools Needed
Here are the materials you would need for this project:
- Measuring tape
- Speed square
- Line with chalk
- Circular Saw
Step-by-step
Below are the steps you should follow to cut fence posts at an angle
- You would need to measure the two end post to get the desired height while marking a line across the front, back, and on one side of the post, using a speed square.
- Draw a chalk line along the fence's perimeter, aligning the string with the end postmarks. At one end, have a friend hold the chalk line. Take out and loosen the chalk line string to create a chalk line marking on each post when it has been lined up. Should the fence line be longer than your chalk line, take a measurement and mark one of the posts in the middle.
- If necessary, trace over the chalk line to darken the marks, then repeat the marking of each fence post on the back and one side of each post.
- Align the circular saw blade with the markings on the front of the post and cut deeply through the post and slowly. You can usually do this at about 2 ½ inches. Turn off the circular saw and take it out from the fence post.
- Adjust the circular saw blade with the marking on the other side of the post. Cut through the post until the top is completely removed. If you can't cut completely, cut through the post with two cuts, reposition the blade on the third side, and then cut through again to remove the post.
Caution: Wear safety glasses since the sliced piece will likely fly off the post as you finish the cut.
Should You Cut Fence Posts In An Angle?
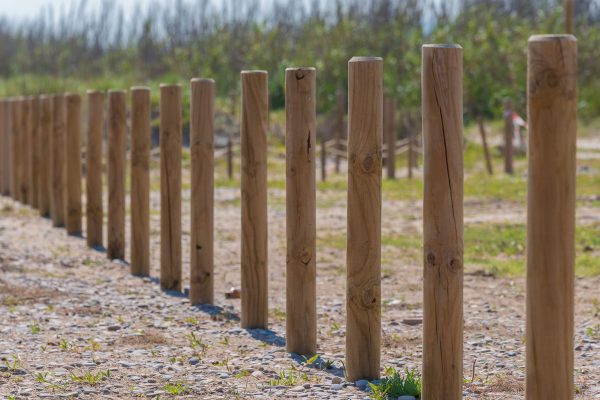
Firstly, in making fence posts, you should use weather-resistant woods such as redwood, cedar, or even pressure-treated woods. Taking extra precautions in extending the longevity of the fence posts doesn't hurt.
To this end, it is also recommended that you cut the top of the post at an inclined angle to allow at least 30 degrees for water to run off it and prevent the accumulation of water at the top. If not, the water will soak into the porous end grain, which could lead to splitting and swelling, which may bring about rot in the long run.
While cutting the angle by eye is simple enough, measuring it allows you to angle all post tops uniformly. The ideal method is to use a protractor to set a sliding bevel square to the desired angle, hold the square against the post and mark it.
Then, using a handsaw, cut along the line. A rotary saw, or chain saw is faster but less accurate. After that, apply two coats of clear wood preservative, stain, or paint to the angled cuts.
Installing Fence Posts At Odd Angles
Vinyl Fence At Odd Angles
It's pretty uncommon to come across corners that aren't exactly 90 degrees while building and installing fences. This is only a problem with fences with routed holes, such as Vinyl and ornamental fences.
Vinyl fences are an attractive, low-maintenance alternative to wood or metal fences. They are made from plastic-based synthetic materials and come in a variety of colors and styles.
The vinyl material is durable, so it can stand up to the elements without fading or chipping. Vinyl fences are also easy to install, making them a popular choice for homeowners who want a fence that lasts for years without requiring much work.
This is especially true if you choose a dark color for your vinyl fence because it will not show dirt as easily as a lighter color.
Vinyl fences do not require any painting or staining, saving you time and money on maintenance. But you can paint it in different colors if you want to. Most ornamental fences are made of vinyl.
Chain-link Fence At Odd Angles
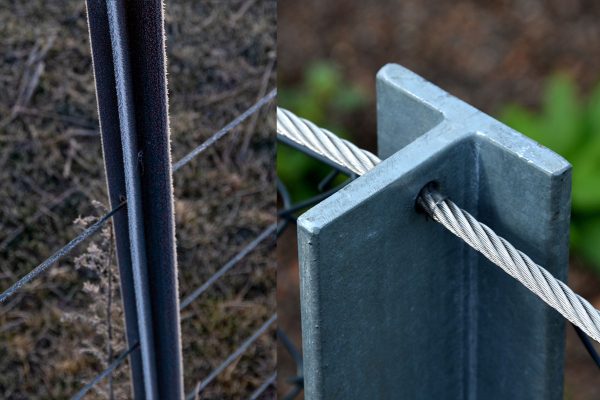
To alter the angle of a chain-link fence, adjust the bracing and tension bands.
There are four alternatives depending on the angle:
- If the angles are less than 90 degrees, you should use corner posts.
- A line post should be used for angles higher than 90 degrees instead.
- You can use an end post alongside adjustable wall brackets when using an end post.
- You can also buy a blank post and put holes in the field.
Do Fence Corners Have To Be 90 Degrees?
The lines of fence corners should be crisp and straight, and the angles must be exactly aligned while constructing a fence. If you're encircling an area using four pieces of fence, for example, the corners must be turned 90 degrees for such pieces to match up correctly.
The "3-4-5" method is a simple carpentry technique for creating a straight angle. It is calculated as the proportion of a right triangle's three sides.
How Do I Make Sure My Fence Posts Are Level?
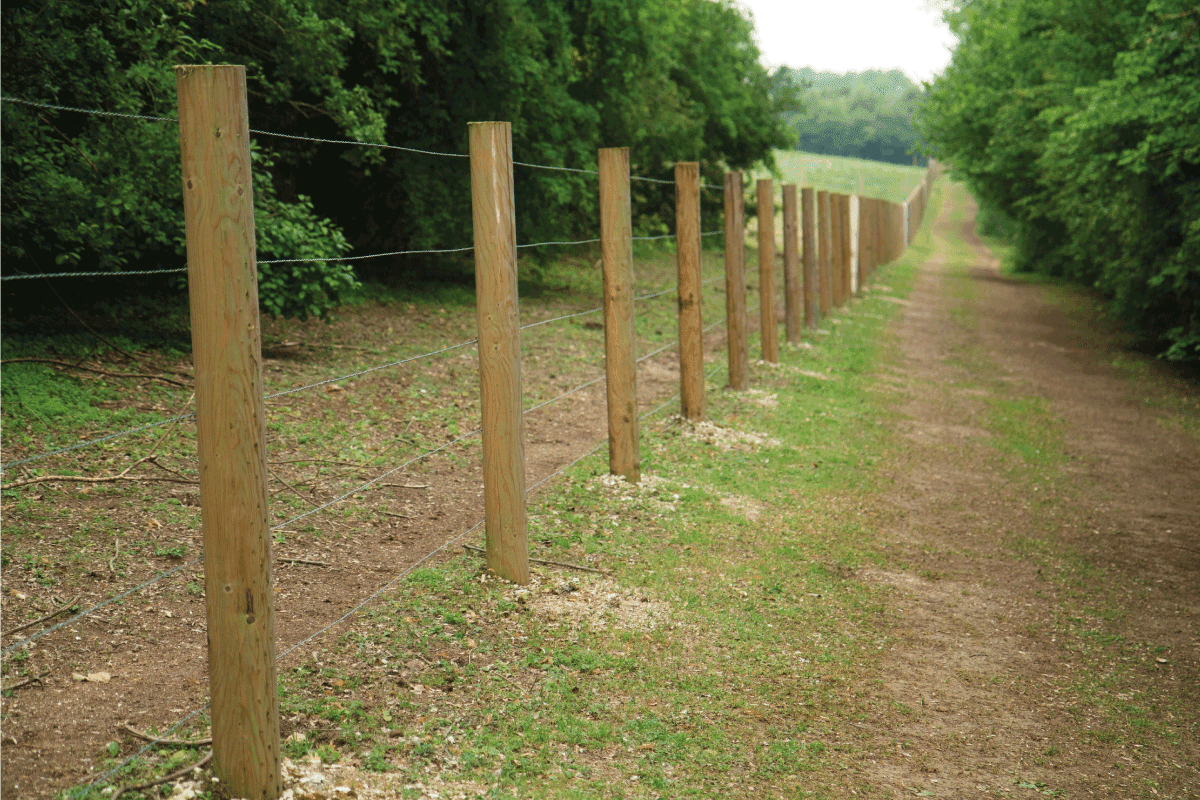
To make sure your first posts are level:
- First, identify the location of the posts, which should be about 6 to 8 feet apart.
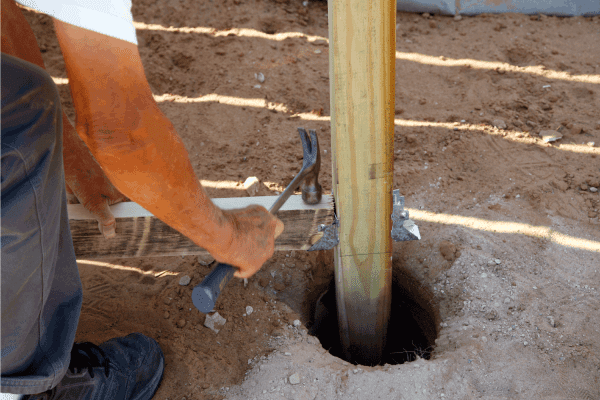
- Digging a hole, placing gravel, and pouring concrete into the post are all steps in the installation procedure.
- The tops of the posts might now be uneven, but they'll be corrected at the finish.
- Before letting the concrete dry, make sure your posts are vertically level. If not, you may have to redo that post's installation.
- You'll choose where the top of your fence will be on the posts once your posts are concreted. You can find the lowest height post and mark the remaining posts to be cut down to that level.
- Using a thread to tie around the posts is the simplest method to make it level.
- Make sure the string is level with a leveler and a pencil mark where you need to cut.
- You can now put up your fence.
At the bottom of the fence, there may still be gaps. To fix this, simply fill-up the void with dirt or gravel.
Another alternative is to cover the uneven terrain with bushes or plants. In no time, either method will have your fence looking great.
Is 2 Feet Deep Enough For Fence Posts?
When digging fence posts, the standard depth to be dug for each post should be at least 2 feet. This is because the deeper the holes, the more balanced and stable the fences will stand. Normally this is achieved by digging the holes ⅓ to ½ of the posts above the ground height.
How Do You Cut Angles On a 4x4 Post?
A mainstay of outdoor woodworking is the 4x4 post. Its enormous diameter makes it structurally sturdy enough to hold decking and fencing vertically. These posts have been pressure treated to withstand outdoor use and enable installation partially buried in the earth.
A 4x4 post is one of the most challenging pieces of dimensional lumber to cut cleanly with the common power tools due to its thickness. Unless a slide saw is used, the average 10-inch miter saw can't make a complete cut without some risky alterations to the tool's safety features.
Therefore, A 12-inch miter saw or 10-inch radial arm saw are two of the best tools to cut through a 4×4 post in one go completely. A standard circular saw can also be used. However, it would take at least two passes to complete the cut.
Conclusion
We trust with the details provided in this post, you should be able to go ahead with setting your fence posts at angles. Take note of all the necessary guidelines needed to ensure the perfect alignment and longevity of your fence posts.
If you enjoyed this post, here are more engaging articles about fence posts you should read: