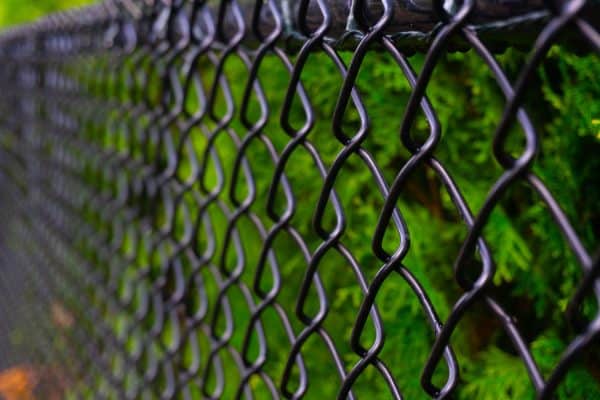
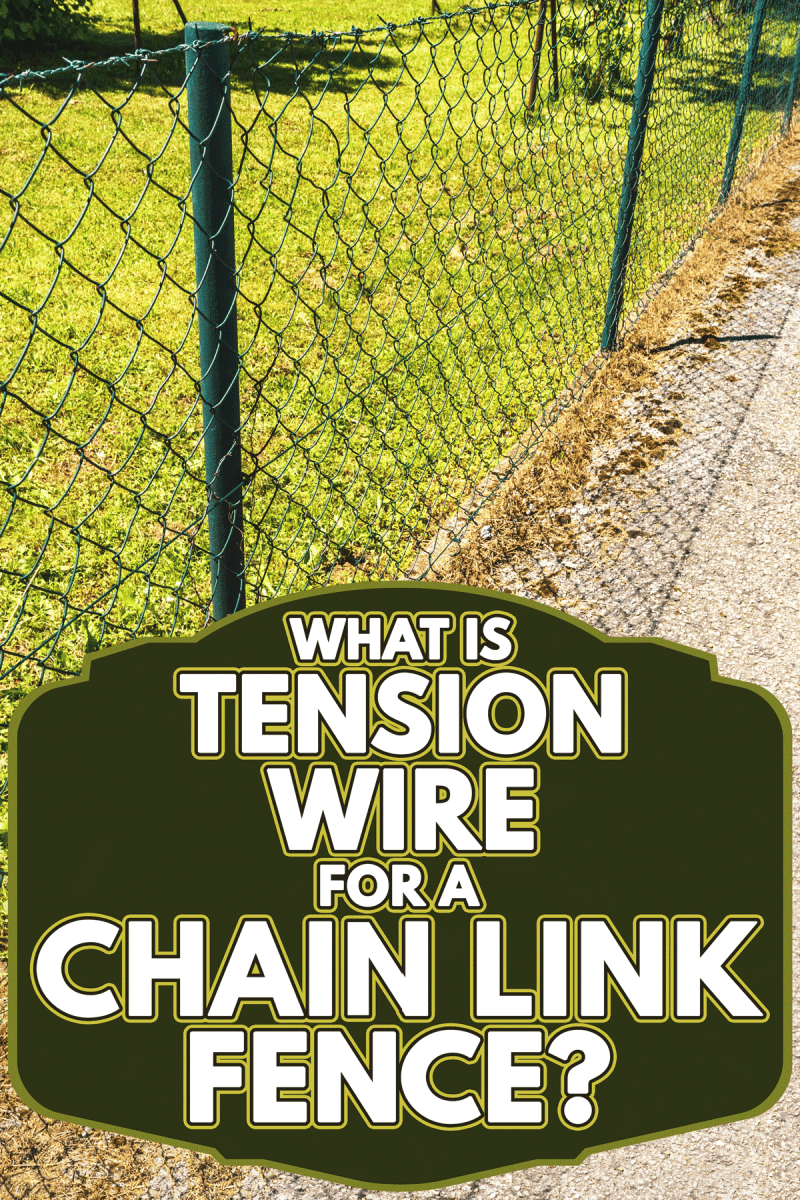
One important reason why fences are built in the house is to secure and protect the house from external trespassers. Having a chain link fence with tension wire provides an additional layer of protection. We have done proper research to help you understand more about tension wires for your chain link fence, and here's what we found.
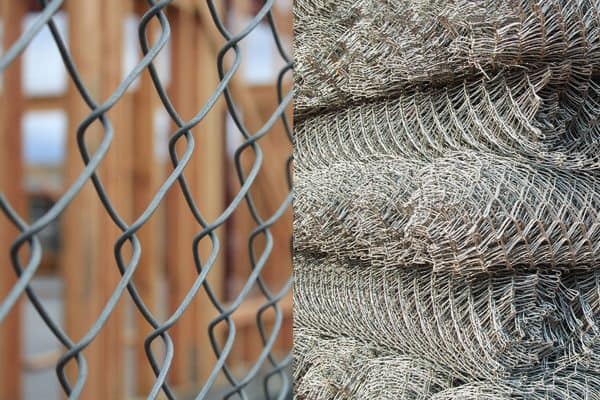
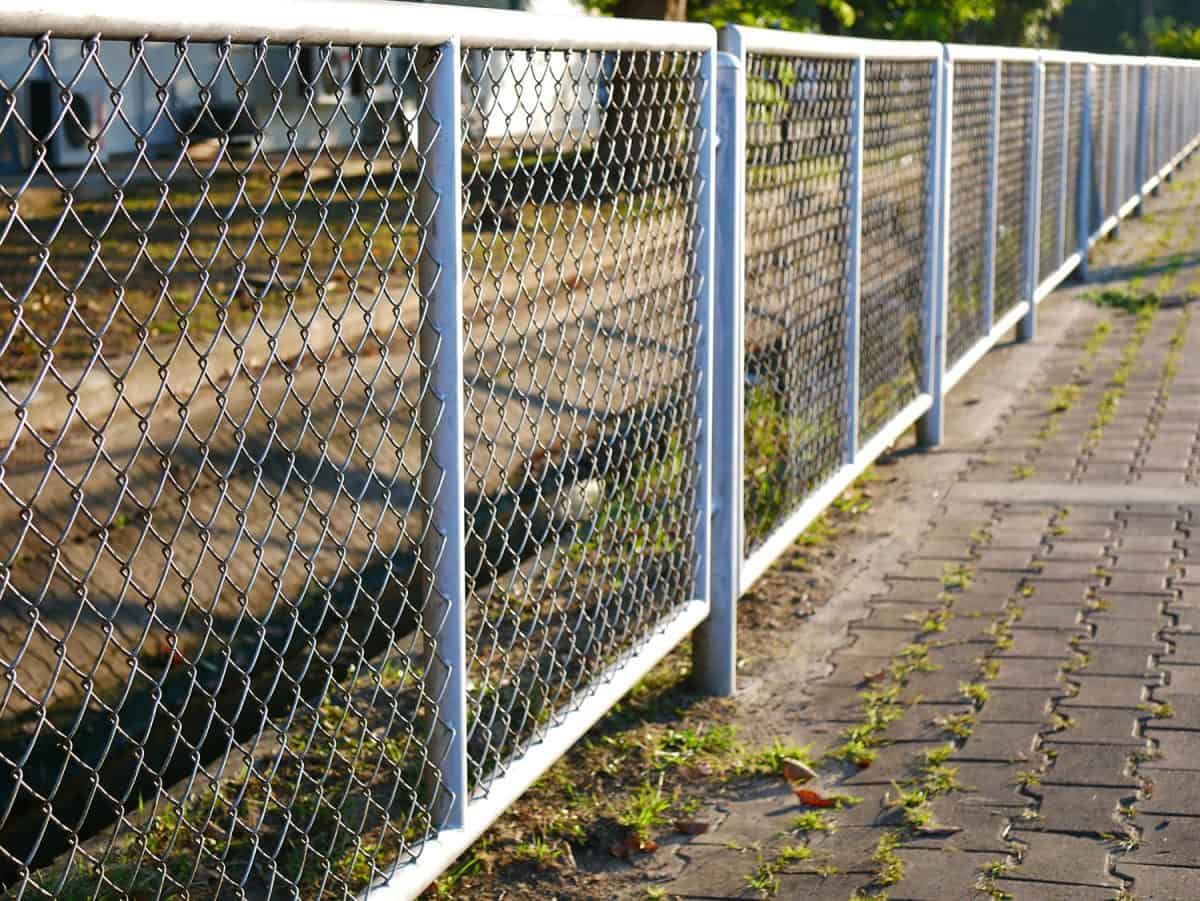
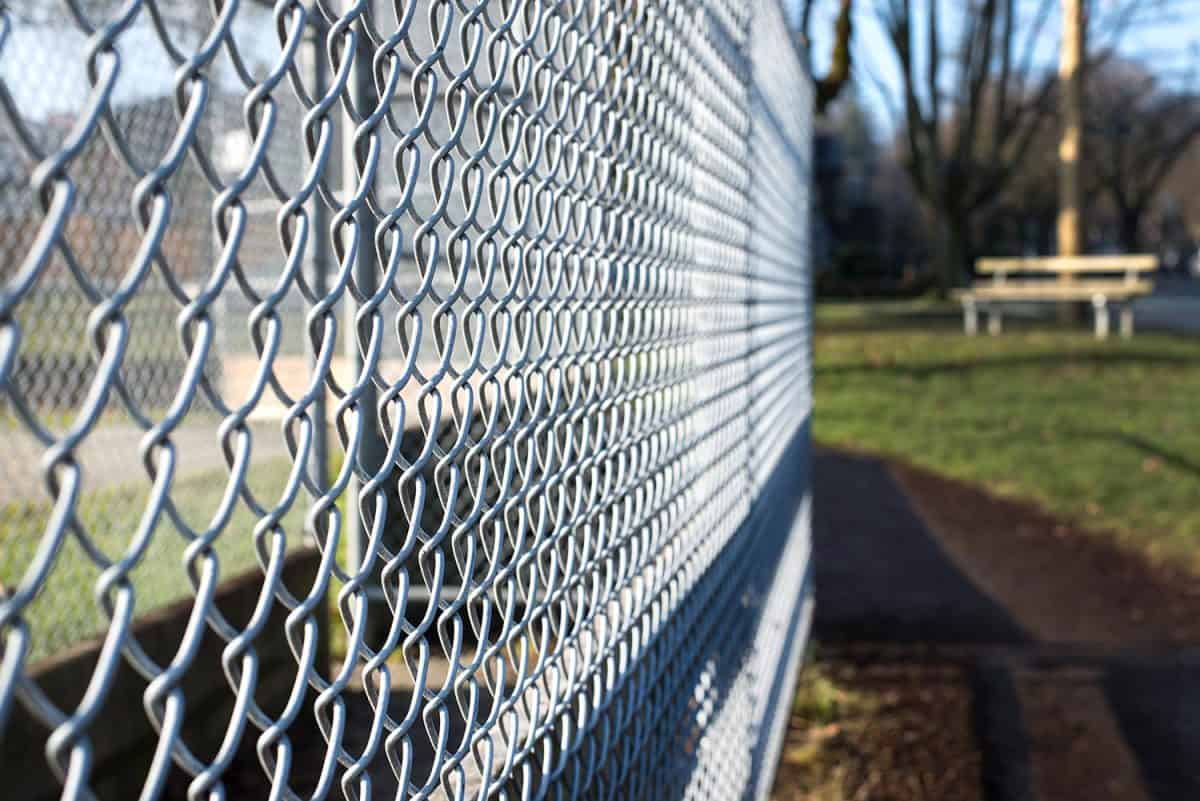
A tension wire keeps your chain link fence tight to the posts and rails by securing the bottom of the fence. Chain link fencing relies heavily on tension wire to make sure the fence is sturdy and can withstand impact.
Aside from making your fence well structured, using a tension wire for your chain link fence also adds aesthetic appeal. Keep reading as we will give you more detailed information on the importance of installing tension wires on your chain link fence.
How Does a Tension Wire Work?
Tension wires are steel wires coated with minerals that prevent them from rusting and help them last longer. They are used to tighten the bottom part of your chain link fence and make it firmer by applying pressure on the chain fabric.
The wire should run along the same side of the posts as the mesh and is linked to the bottom brace band carriage bolt.
Uses of Tension Wire For Chain Link Fence
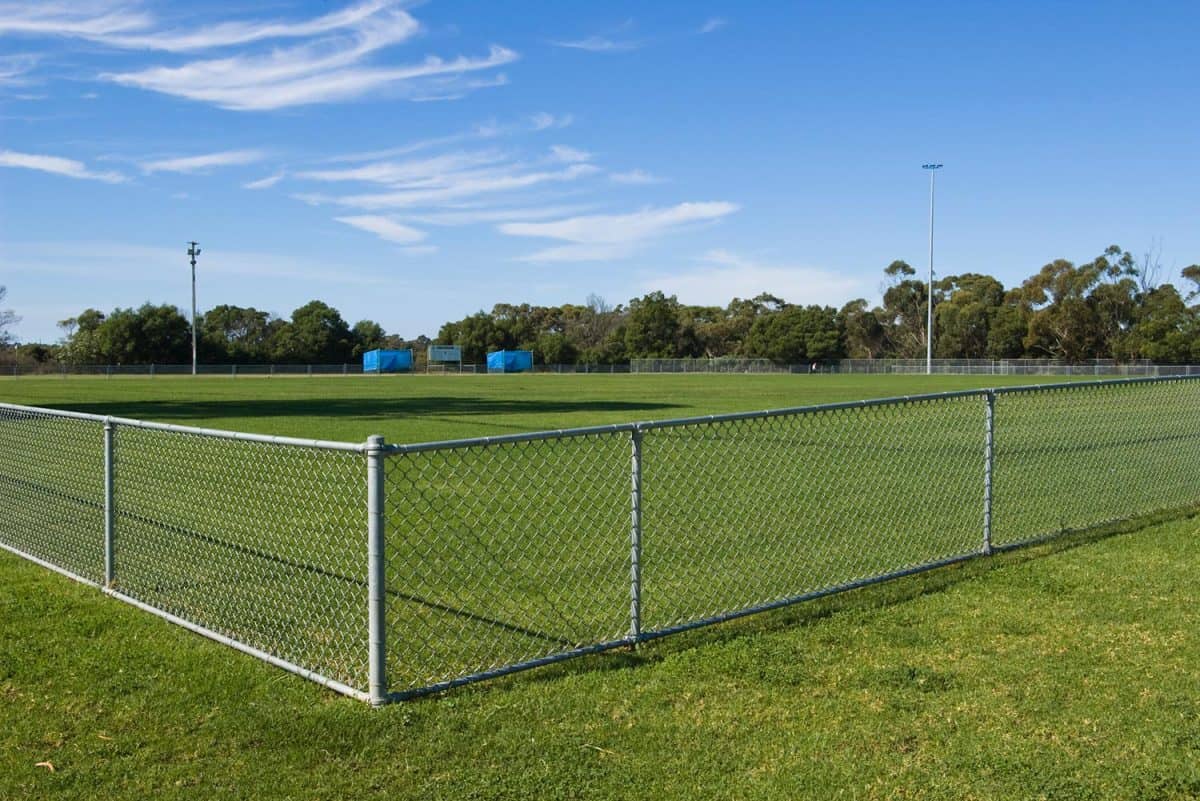
Tension wires are mainly used for chain link fences to strengthen the top and bottom of the fence. A tension wire can also tighten sagging or spaced apart posts.
Wild animals can readily jump into the yard if there is sagging between the posts, so tensioning the wire for chain links is very important. The tension wire at the top keeps the fence mesh tight and firmer.
Fence tensioning is also beneficial in windy locations and prevents the effect of a fallen tree on a fence. If a tree branch falls on a fence, it could cause damage. Nevertheless, tensioning the fence will keep it sturdy and firm.
Steps on How to Install a Tension Wire For Chain Link Fence
Before you proceed with installing a tension wire, there are a few things to take note of.
To avoid getting injured by the wires, when you want to cut off a part of the tension wire for a terminal end of your fence, always make sure you hold the cutting area of the wires with one hand.
Also, note that before you start the installation, you have to stretch the tension wires on the outside of the fence before sliding it under the fence to the inside if it is added to an existing chain-link fence.
Installation usually takes a day, but you can spend more than a day on the installation if you use concrete post anchors. You would need tools like a shovel, spade, fence puller, stretcher bar, pot level, and chainlinks.
Steps For Installation
Here are the steps for installing a tension wire on a chain-link fence.
1. Evaluate The Materials You Will Need
This is where you'll determine how much fencing needs to be covered by the tension wire. Determine where you want the corner and gate to be installed. Paint the areas with a marker or anything visible. The space between the end posts should be measured.
2. Fix All End Posts
To dig a hole for the corner and gate you selected, you must drill a hole in the ground. Make sure your marked areas are at least thrice the size of the posts.
Make sure the hole is the same size in length as the post. There are two methods for filling the holes. Either you fill with concrete or don't fill with concrete.
- Fill the holes with five inches of gravel, so there's no room between them, and press it to the bottom. Five inches of concrete should also be poured into the hole. Put the posts into the holes you dig and wait for the concrete to set for at least 24 hours.
- If you don't want to use concrete, lay the pole in the hole and fill it with large stones to secure and stabilize it. Fill up any gaps with sand from the interior of the hole.
3. Fix Intermediate Posts
Connect one end post to the other with a rope or string. Ensure that the height of your intermediate posts matches that of the mesh. This is to provide a small gap at the end of the fence once it is installed.
To identify where you'll put the intermediate posts, have a 10-foot gap between your corner, gate, and end posts.
Create holes for the intermediate posts like you did for the end posts. Keep in mind that the hole should be three times the post's width. The hole should also be a third of the length of the post. You can choose to fill the gaps with concrete or decide not to.
Like the end posts, fill the hole with five inches of gravel. Finally, place the posts in the holes and wait for the concrete to dry for at least 24 hours.
If you do not want to use concrete, put the pole in the hole and fill it with large stones. Fill it with the stones and then add sand.
4. Place The Tension Cap And Band To The Post
One by one, secure the tension bands to the posts. Do this so that the flat side of the fence faces the outside.
For each side, use two tension bands on the corner posts. Four tension bands are required for a five-foot-high fence. You'll need six tension bands if it's seven feet tall. That is how it operates.
Join the caps and posts together. Ensure the center posts have looped caps and the end posts have loopless caps. After that, tighten all of the nuts, bolts, and other components.
5. Fix The Top Rail
This is a straightforward procedure. Push the top rails through the loops to move them. The poles will be connected at their opposing ends.
Always make sure the poles are not too long. You can cut them down with a saw. Tighten all loose bolts and nuts after mounting the poles.
6. Put The Chain Link Mesh in Place
Roll the mesh across the fence from one of the end posts. Close to the fence, twist the tension bar at the bottom of the mesh roll.
Place the tension bar at the bottom of the pole's tension band. Make sure the mesh is two inches off the ground. After that, obtain a couple of wire fence ties and secure the mesh to the top rail.
7. Stretch The Chain Link Mesh
Three feet from your end post, place a tension bar. Connect a stretcher bar to the tension bar. Connect the fence puller to the stretcher bar and pull the tool to tighten the mesh.
With the plier, remove all extra mesh from the fence. Remove any tension bands or other objects you don't need anymore. You may effectively install a chain link fence tension wire using this method.
How To Secure The Bottom Of A Chain Fence
If your chain link is always loose at the bottom, it could be because your dog or any other animal digs underneath the fence so it can pass through. Some other times, it could be as simple as the wind loosening the tension. There are two options to secure the bottom of your chain fence properly.
First is through tent skates, and the other is by adding bottom rails to the bottom of your chain fence.
How Far Apart Should Fence Posts Be For Chain Link Fence?
Typically, chain link fence posts are spaced ten feet apart. Space posts evenly for aesthetic reasons, but not more than 10 feet apart. Consider using 8-foot or 6-foot post spacing if you want to install privacy slats or material that would decrease wind stress.
How Many Tension Bars Do I Need For a Chain Link Fence?
You may need to get more tension bars depending on the width of the post of your chain link fence. If the width is five feet, you will need four tension bars.
How Do You Pull A Chain Link Fence Tight?
When stretching it, you'll need assistance unraveling and pulling the chain-link mesh taut. Place the tension bar along the pole and secure it with brace bands spaced one foot apart. Connect the other end to a pulling rod threaded through the chain-link fencing links.
To Sum Up
A tension wire helps to tighten and protect chain link fences. They make the fence firmer enough to the ground to prevent animals from crawling under the fence and creeping into your compound. You can install one yourself as long as you have the right tools.
If you enjoyed reading this article, check out these other posts about fences: