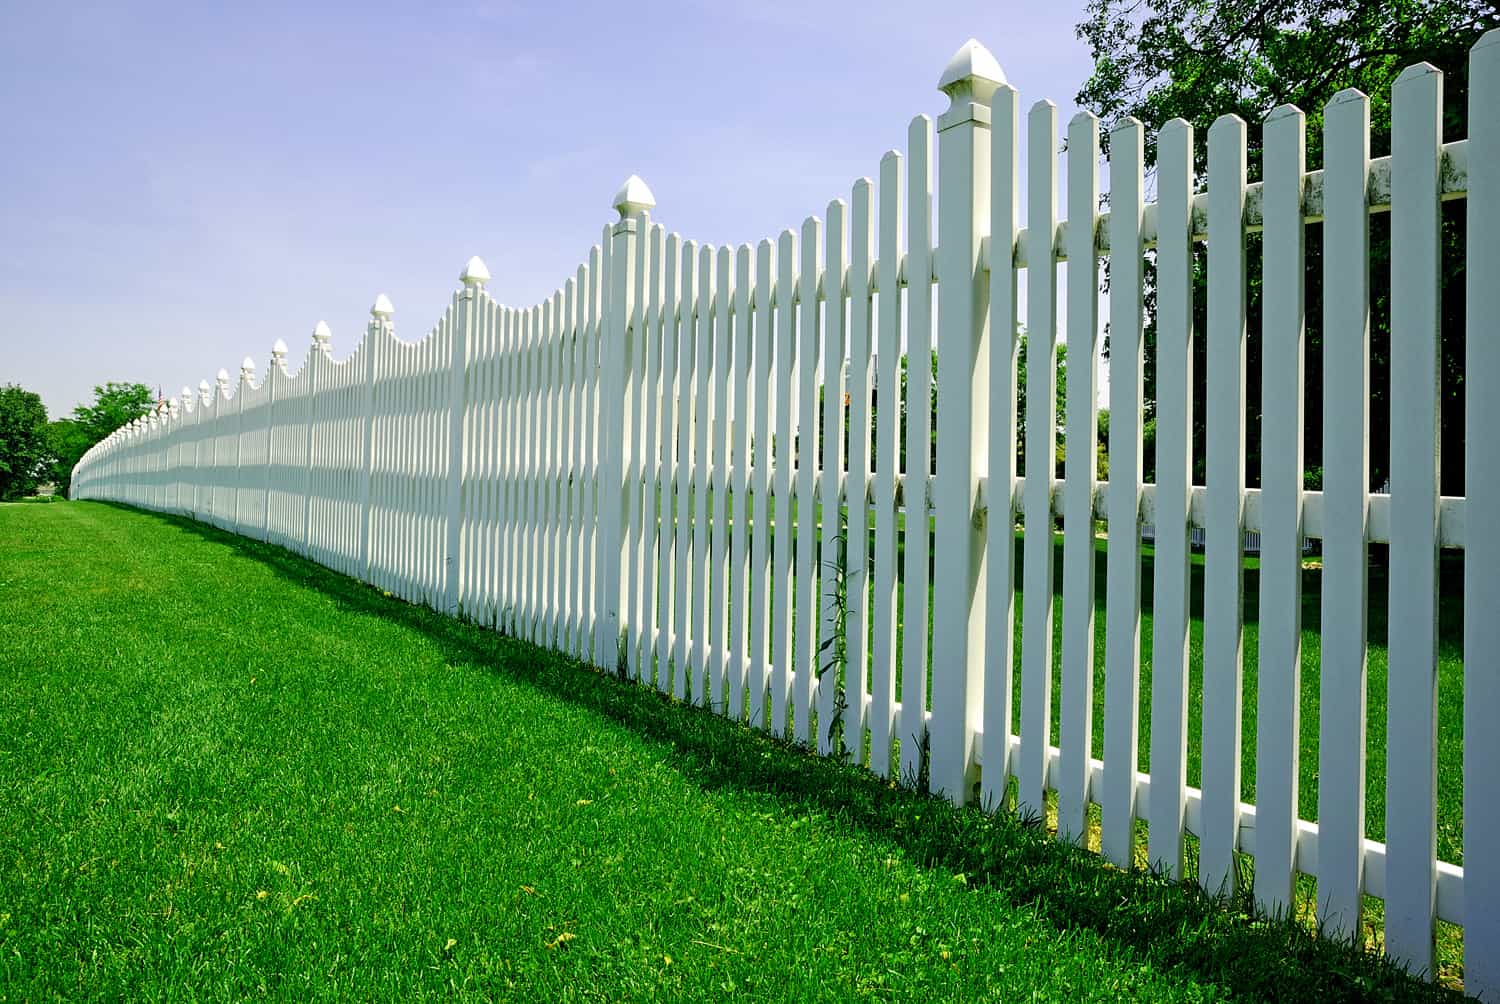
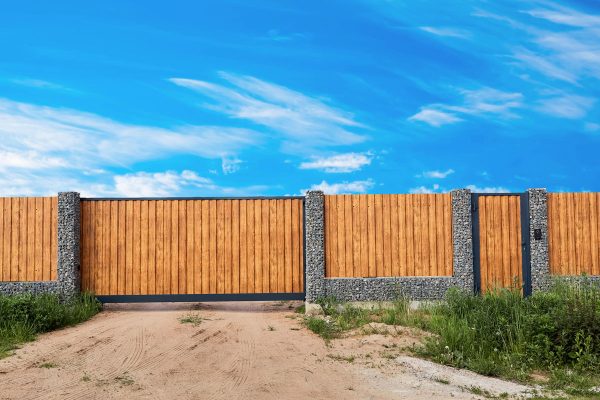
Your fence's stability depends on each fence and post's ground anchor. If you want to make your fences withstand strong winds and accidental bumps, you will want to know how to anchor effectively. So, how exactly do you anchor a sturdy fence? We have researched answers to find out.
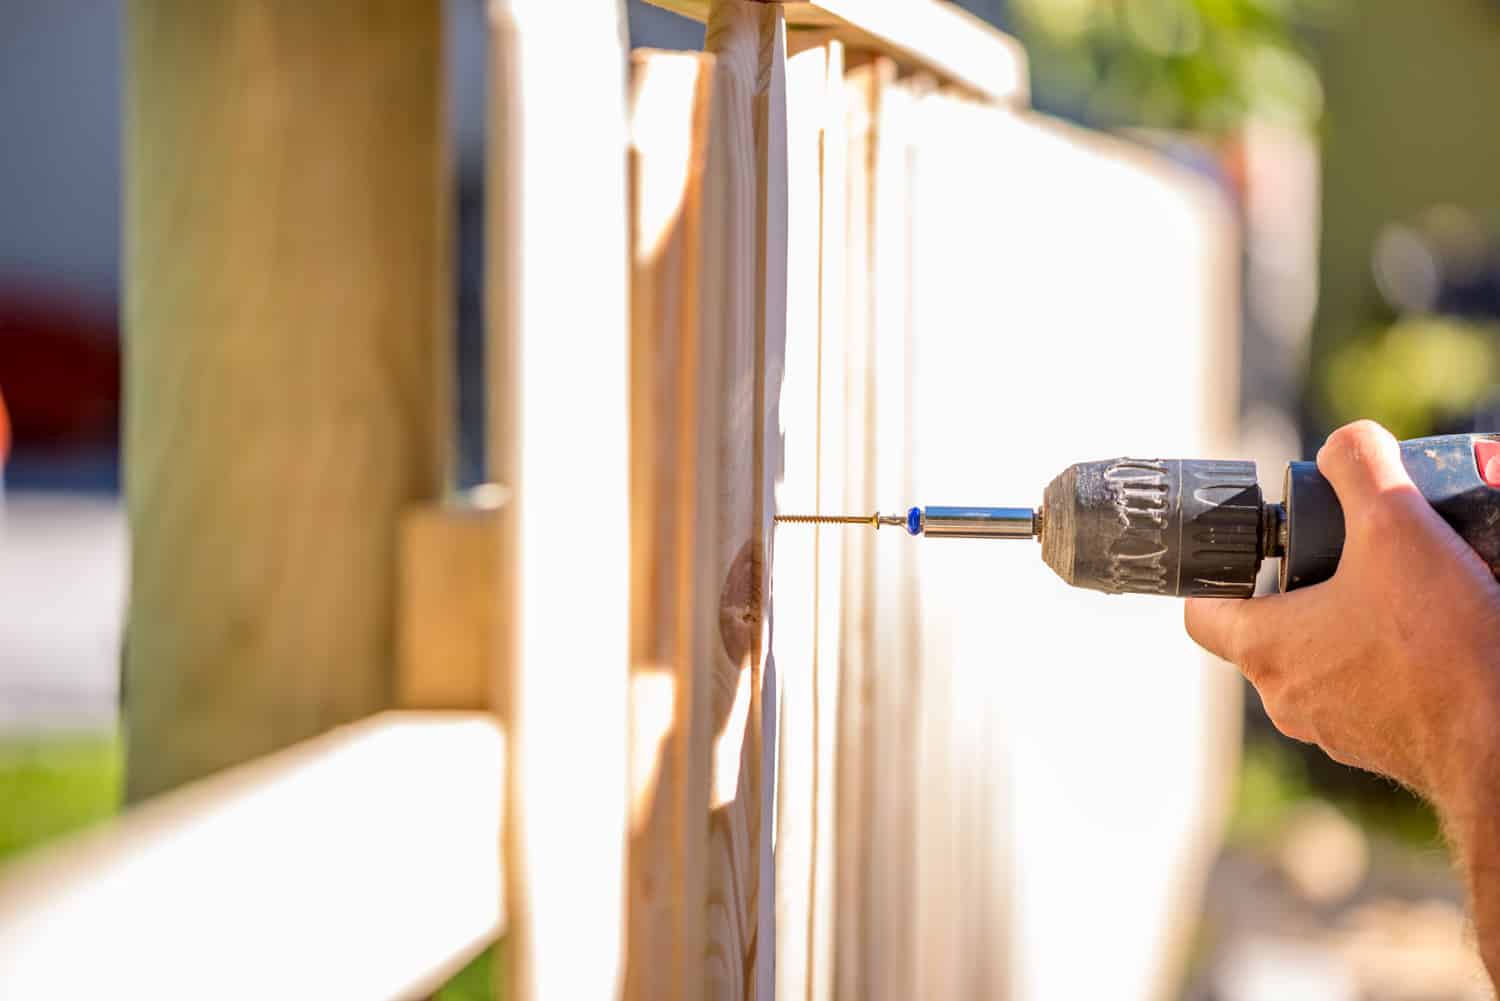
When you anchor your fence, you need to use the appropriately-sized posts for the size of your fence. Then, you can follow these steps:
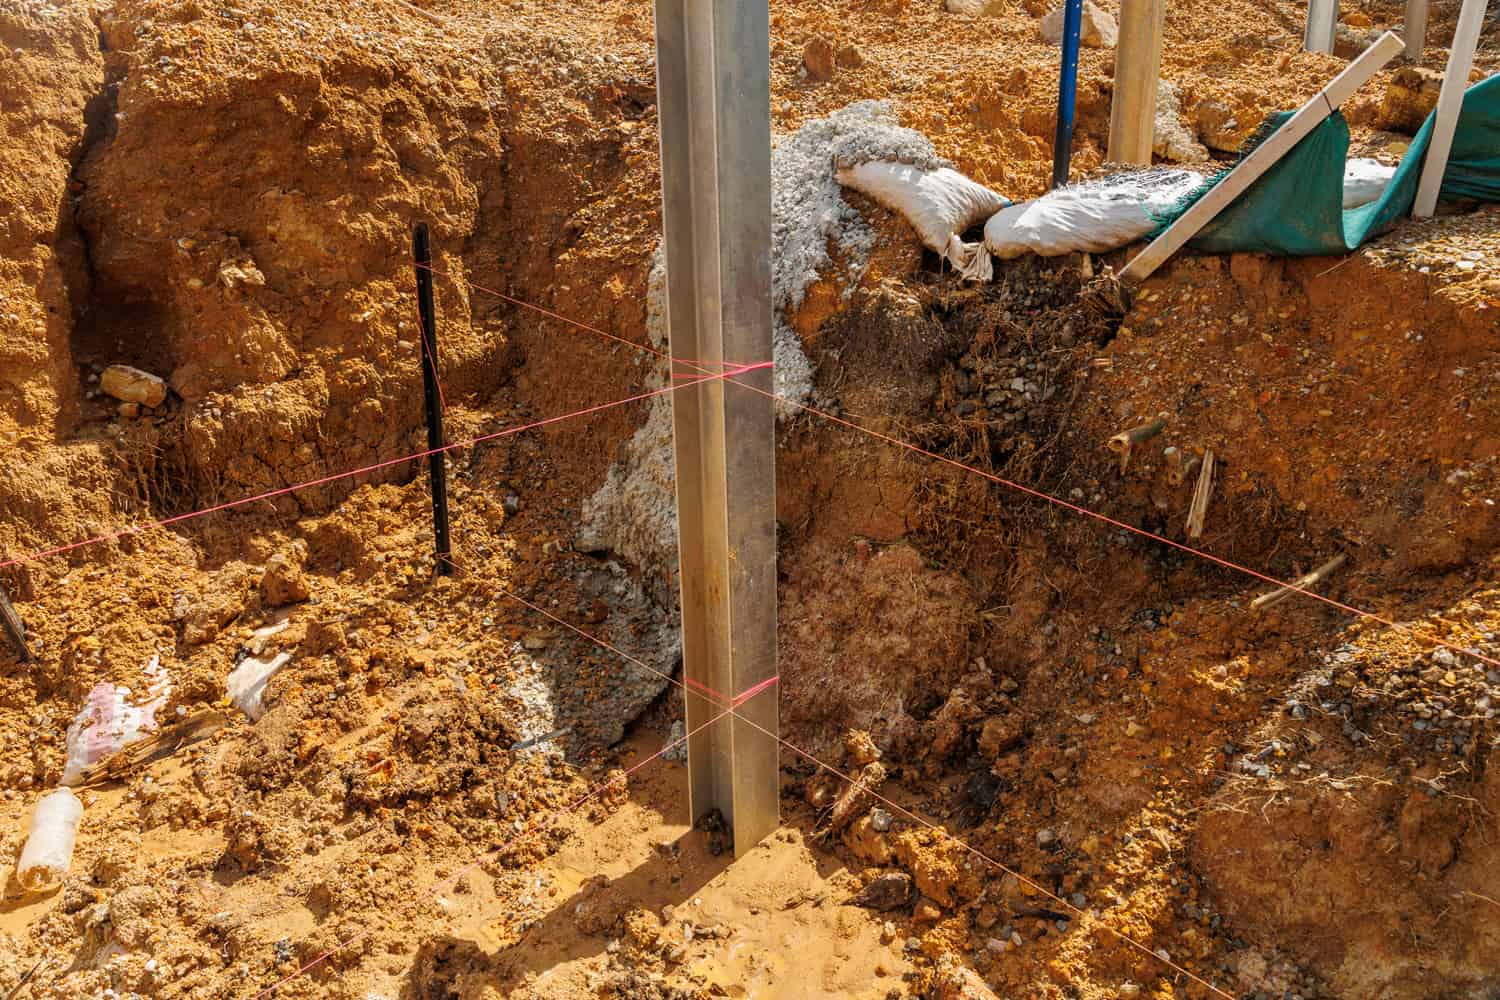
- Install string lines on your property corners before digging post holes.
- Set up your anchor installation tool. Assemble the vertical guidepost and place it on the corner of your string lines. Make sure they are perfectly lined up.
- Pound down the vertical guidepost for 1-2 inches using a woodblock. Then, attach the brace and stake components over the post's opposite holes.
- Put brace and stakes at a 90-degree angle leveling your guideposts. Secure using bolts and nuts. Loosen the wing bolts on the brace component, then secure them in place by putting the stakes at a 90-degree angle against the brace. Pound them into the ground.
- Remember to keep the posts steady as you secure the stakes. Level the vertical guideposts one direction at a time. Once they are leveled, tighten your wing bolts.
- Now, the anchor for the fence is ready to be installed. Hang the upper bracket on the vertical guide bar. Place the anchor into the lower guide bracket in one direction, then attach the upper guide bracket on top of the square opening of the anchor.
- Jackhammer the anchor. Remember that 1/3 of it should be pounded into the ground. Level each side using the anchor installation tool, then adjust accordingly using a gripping tool.
- Pull out the stakes attached to the braces, then remove the guidepost upward. Hammer down the anchor a few more times. Straighten it as needed.
Anchoring a fence can be challenging at first, so you might want to ask for help. After installing all the anchors, you can proceed with the fencing. You may also want to know more about installing fences, so keep reading below.
What are Post Anchors For?
Post anchors are installed to hold your fence posts using their long spikes on each end. Once it is driven into the ground, the fence posts are mounted over the bracket snugly. A level is used to make it plumb and permanently attached to the anchor.
Post anchors are a more preferred way to secure fences than concrete post-mix. This is because post anchors can be relocated, last longer, and effectively protect the posts and fencing from corrosion. They also do not rust which in turn makes the fences more durable.

![]()
See these post anchors on Amazon.
Corner Anchor Installation
We've already detailed above how to install fence post anchors. Yet, you might appreciate a visual demonstration to prepare for your own project. Below, watch how to install corner anchors:
Concrete Anchors or Post Anchors?
Concrete post-mix may also have the same advantages, but their disadvantages can make you think twice. For instance, improper footings can result in an unstable fence, creating more problems.
Post anchors will not have you dig and re-dig holes since they have a well-galvanized structure that can withstand extreme soil conditions. Compared to the hassle of pouring cement or concrete, the conveniences of post anchors span from installation and beyond.
Read: "Vertical Vs. Horizontal Fence Cost: Which Is Cheaper?"
What are the Metal Spikes on Post Anchors?
Metal spikes support your fences, but you will need one that is compatible with the size of your fences. For example, a 24-inch spike should be enough to hold up a 4-foot high fence.
You will need to strike these spikes with a sledgehammer to get them into the right position. Fill the square socket at the top of the spike with surplus to protect it when you start striking it with a hammer.
Once it is in position, you can place the post fence into the socket. You should be provided with bolts and screws which you will use to secure them in place.
Read: "Best Wood For A Picket Fence [5 Great Options!]."
How to Build String Lines
String lines are used to make the fences straighter during installation. This will ensure a more aesthetically pleasing result and avoid messy work. String lines should be installed from outside your fences to represent property lines, and ideally installed before the anchors.
Here is how you can make string lines for your fence.
Remove Fence Line Debris
Pull out any type of vegetation that might be growing on the fence line. Bushes and roots will hinder the fences from being anchored to the ground, so make sure to weed out anything that might grow in the future.
Remember that moisture from vegetation can potentially ruin your fencing, so it is better to remove them now.
However, make sure that you are actually doing this on your property and that it is not grazing on your neighbor's. Make sure to have clear boundary lines set up before doing any landscaping project to avoid dispute.
Mark the Opposite Ends and Dig
Put a mark where you want to install your anchor posts using a tape measure. Walk around the perimeter and mark the opposite side.
If you are using concrete, make sure to plumb the posts with a level.
Hook the Strings
Look for a wooden stake from which you will loop your nylon string. Hammer the stake into the ground, and pull the other end of the string as tight as possible across the perimeter where you want your fences built.
Adjust their positions as needed and make sure they are perfectly level. This will be your guide when you build your fences later, so make sure they are secure.
The video below demonstrates how to tie a string line like a pro! Here, you'll see the line affixed to a nail, but you can also use this technique on your stakes.
Other Ways to Line Your Fences
There are other ways to make your fences positioned in a straight line around your perimeter. A level transit will make your job easier, ensuring that two or more objects are neatly aligned together.
However, they are not always accessible with their cost and availability so it is better to opt for alternatives. If nylon string lines are too disruptive for you, you can use the methods listed below.
Chalk Lines
Chalk lines or chalk reels have a length of around 25 feet. Chalk reels consist of boxes with a reel of string inside filled with colored chalk powder. It has a metal hook on the other side that you can use to secure them.
Pull the chalk lines tightly then pluck them at the center. This will cause the line to snap back down and draw a chalked line across the surface. Make sure you pull and snap it as cleanly as possible--you don't want an unclear line when applying a guide for your fencing.

![]()
See this chalk line on Amazon.
Watch below for tips on how to snap a chalk line.
Wood Lines
Wood lines are, as the name suggests, built with wood strips. These wood strips can be 1-2 inches thick and used to guide the stakes.
These lines may be more reliable than string lines, but also more disruptive--which is primarily their point. Your lines should essentially disrupt you from going over your property line.
Final Thoughts
Having the right materials for anchoring fences is important for their durability and lifespan. It is also easier and more efficient to get the job done with another person helping you--the more experienced in fence building, the better.
![Close board fence erected around a garden for privacy with wooden fencing panels, concrete posts and kickboards for added durability, Are Gravel Boards Treated? [And How Long Do They Last]](https://fencefixation.com/wp-content/uploads/2022/06/Close-board-fence-erected-around-a-garden-for-privacy-with-wooden-fencing-panels-concrete-posts-and-kickboards-for-added-durability-600x400.jpg)
![Wooden fence with green lawn and trees, Stepped Vs. Racked Fence Installation [Where & How To Use Each]](https://fencefixation.com/wp-content/uploads/2022/06/Wooden-fence-with-green-lawn-and-trees-600x400.jpg)