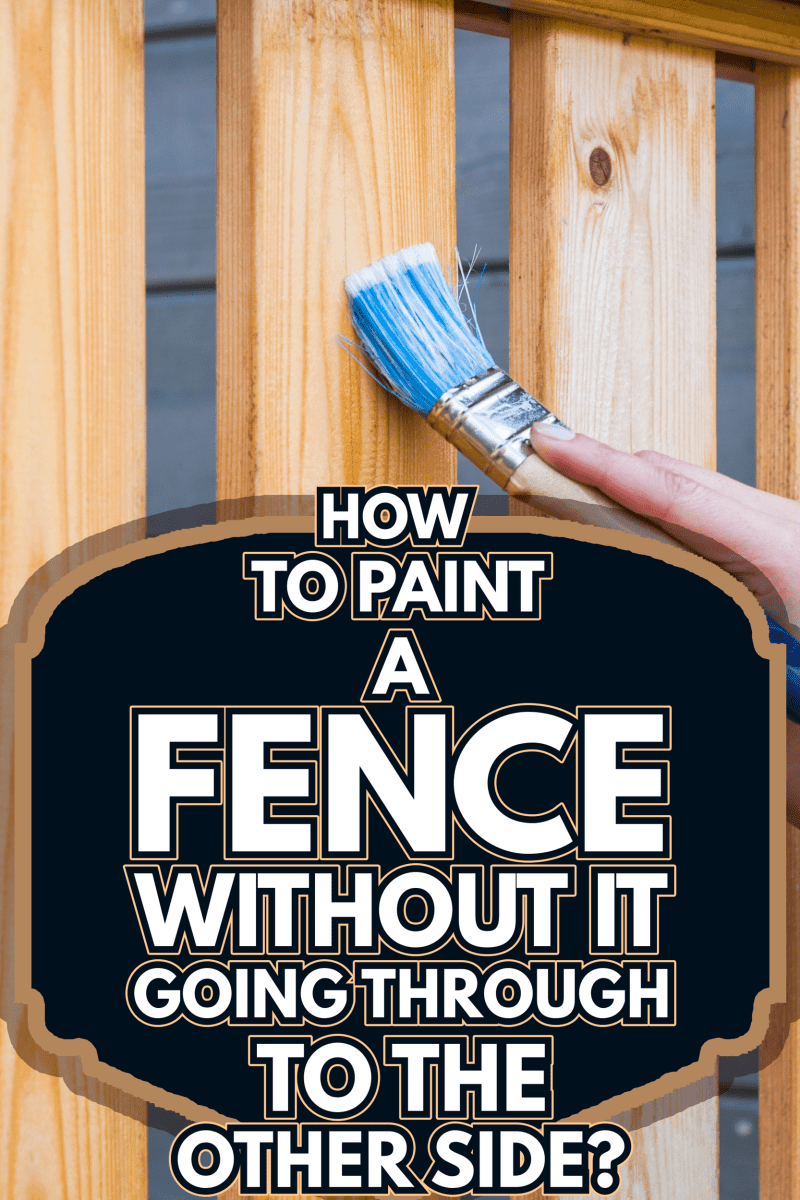
Painting your fence is always a positive undertaking since it would enhance the beauty, restore its appearance and prolong its durability. Now, how can we prevent paint from going through the other side? We have researched every aspect you need to know so that you can finish the activity easily!
Before starting this project, you have to ensure that your wood fence is treated to prevent the paint from seeping through to the other side. Waterproofing the fence prior to painting can also help avoid this issue. Here are the steps you have to follow:
- Ensure the wood is treated or pressurized
- Clean, repair, and sand your fence
- Apply waterproof sealants
- Prepare the area
- Apply a primer
- Paint the wood
- Determine if you need a second coat
- Clear the area and clean your tools
Painting a wood fence can be strenuous work, especially if it starts going through to the other side. There are certain things you must consider, and methods you need to follow. But don't fret too much! We are here to guide you every step of the way.
Preparation
Before anything else, it is significant to know the materials and tools you have to use in order to finish the project the best possible way.
- Cleaning materials
- Waterproof sealant
- Cardboards or newspapers
- 100-grit sandpaper
- Paintbrush
- Primer (use an exterior wood primer or stain-blocking primer for untreated woods such as cedar, redwood, maple, and mahogany)
- Paint
- Oil-based paint (for untreated wood)
How to paint the fence without it seeping through the other side?
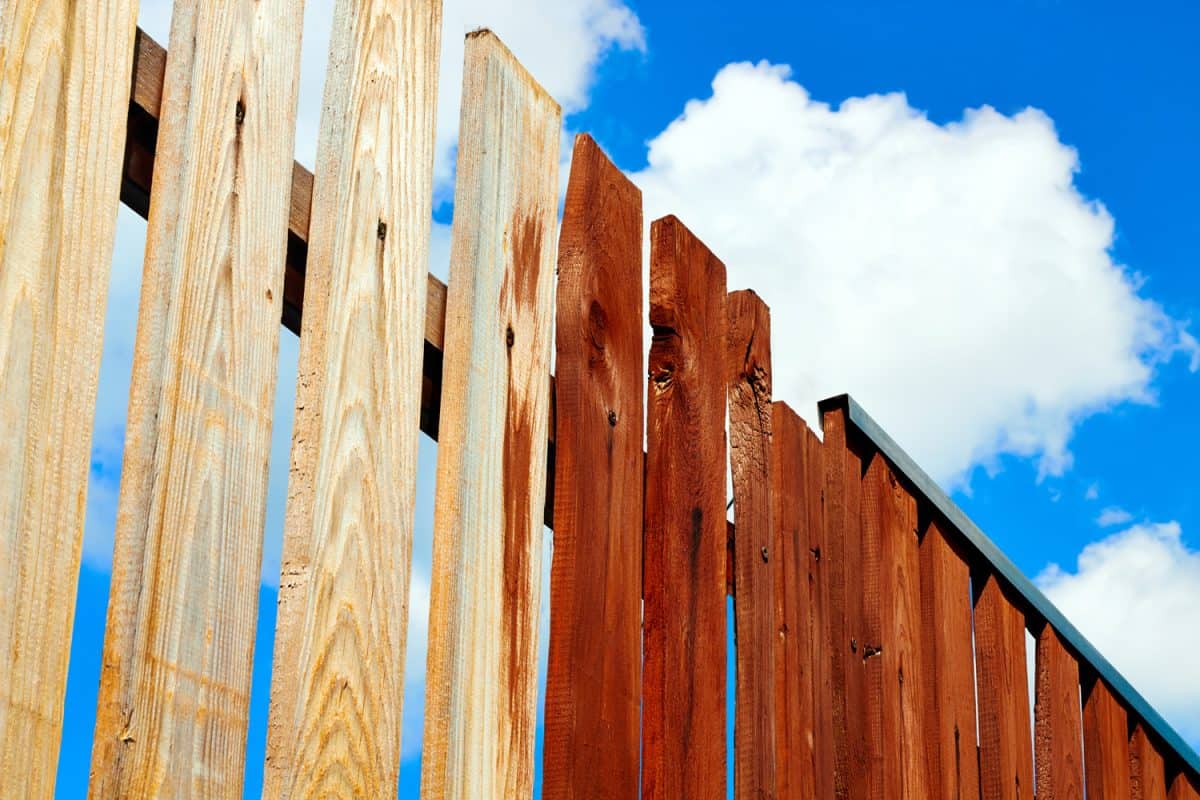
1. Start with Treated Wood
Untreated woods will absorb paint at much higher rates than treated ones. This is because pressurized lumber is designed to withstand moisture and harsh weather conditions making them less susceptible to liquid absorption such as the paint material.
If you are unsure whether you own either a pressurized or regular lumber, you can consult or contact your wood manufacturer. If the wood is untreated, you must take precautions because inaccurate preparation can lead to moisture damage and bleeding (or tannins).
However, you do not have to worry, the process is quite similar to painting treated woods. The only difference lies with the medium or paints you will use.
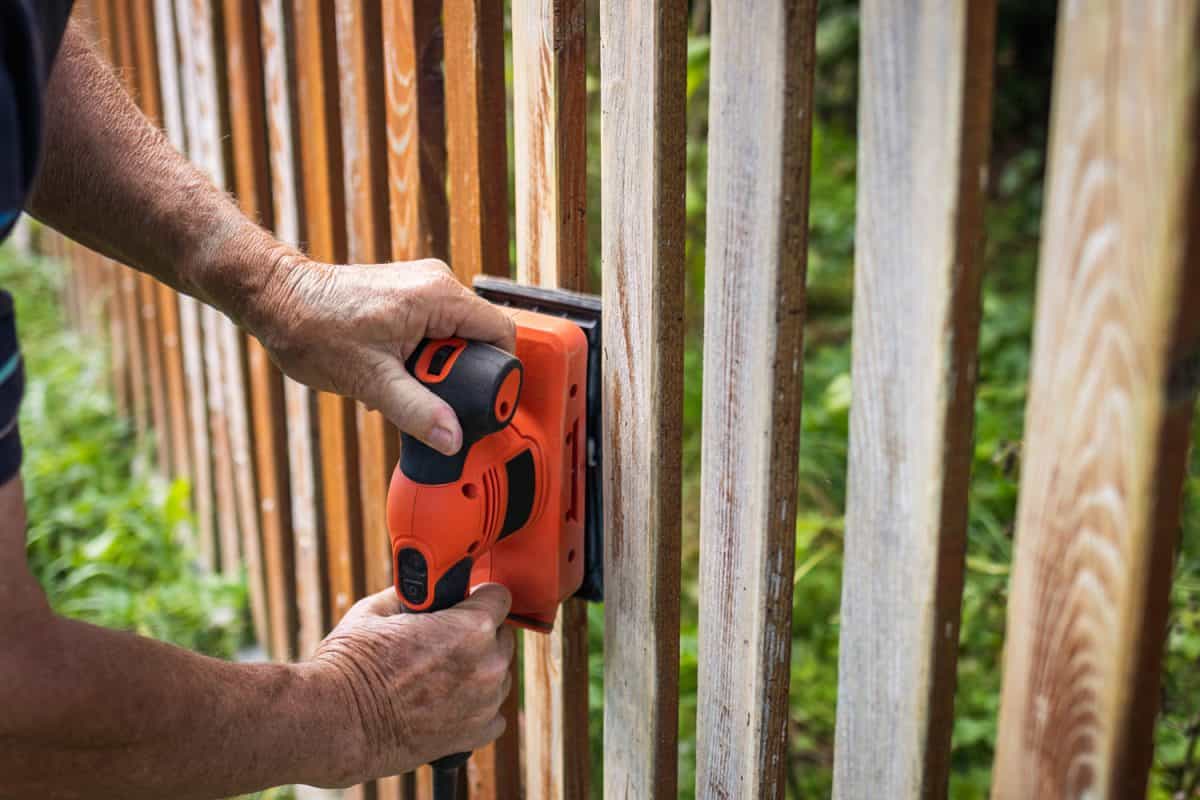
2. Clean, Repair, and Sand the Fence
Once you have established whether the wood is treated or not, the next step is to clean the fence. If there are any mold or mildew build-ups, remove them with the use of bleach. Dampen a cloth with a mixture of water and bleach then gently rub it onto the surface.
If there are no fungi present, simply clean the wood using a mixture of warm water and dish soap to get rid of dirt and dust. To ensure a smooth finish, remove nails or other materials used to suspend wall decors, frames, lights, or any other items.
Now, eliminate splinters and flaking from old paint by sanding the wood in order to attain an even surface. Sanding is not required if you have a brand new fence.
Check the surface for any hollow holes or gaps, then simply apply wood putty onto the area, then sand the surface. This prevents uneven paint finish.
3. Apply Waterproof Sealants
The general idea is to provide a coating to prevent the wood from absorbing most of the stain or paint, ensuring that the paint would not seep through the other side. This is the purpose of using a sealant.
Check out Seal-Once Wood Sealer on Amazon.

![]()
4. Prepare the Area
After applying a sealant, you should prepare the area. To avoid paint splashes on the ground, grass, or plants, simply cover the flooring with either cardboard or a newspaper.
You should also wear protective gloves and goggles to ensure paint particles would not affect your eyes and hands. Masks can also be utilized to protect your respiratory tract against the fumes of the paint.
5. Apply a Primer
Gently coat the wood panels, pickets, or boards with a primer using your paintbrush, then let it dry completely before painting the fence with your desired color. Apply two coatings for untreated wood.
A primer is used as a preparatory coating applied to materials before painting. It serves as a layer of protection, ensures proper adhesion of paint, and increases the paint's durability and longevity.
Check out All Surface Primer on Amazon.

![]()
Now that we have established its significance, you must know the kind of primer you will use. Exterior wood primer is the best option for both treated and regular wood because it protects the wood against moisture and it also works as a sealant for better durability.
For woods with excessive tannin content such as cedar, maple, redwood, and mahogany, you may want to apply a stain-blocking primer to prevent tannin from bleeding all over your fence. Similar to waterproof sealants, primers also perform as a layer to prevent paint from seeping through the fence.
Check out Stain Blocking Primer on Amazon.
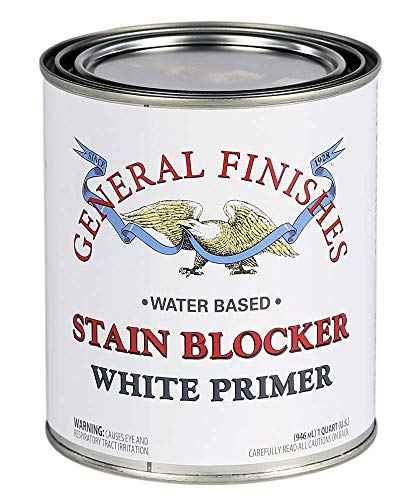
![]()
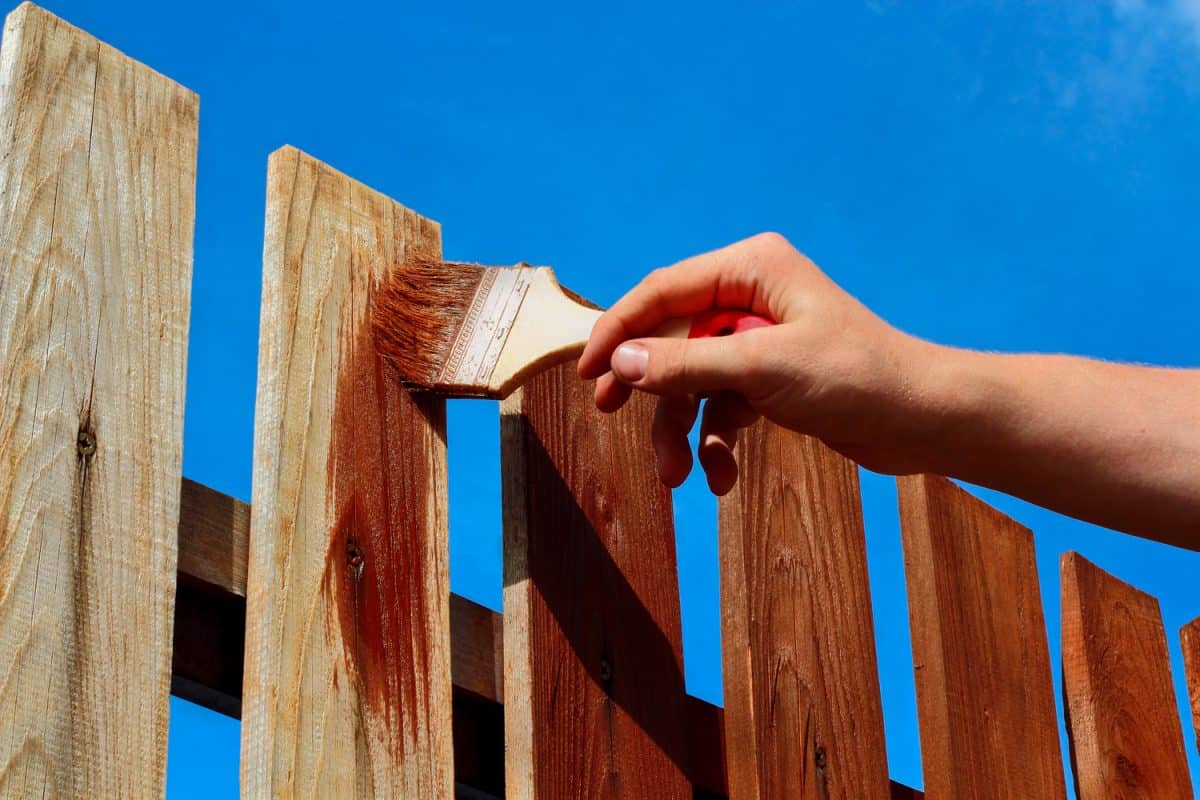
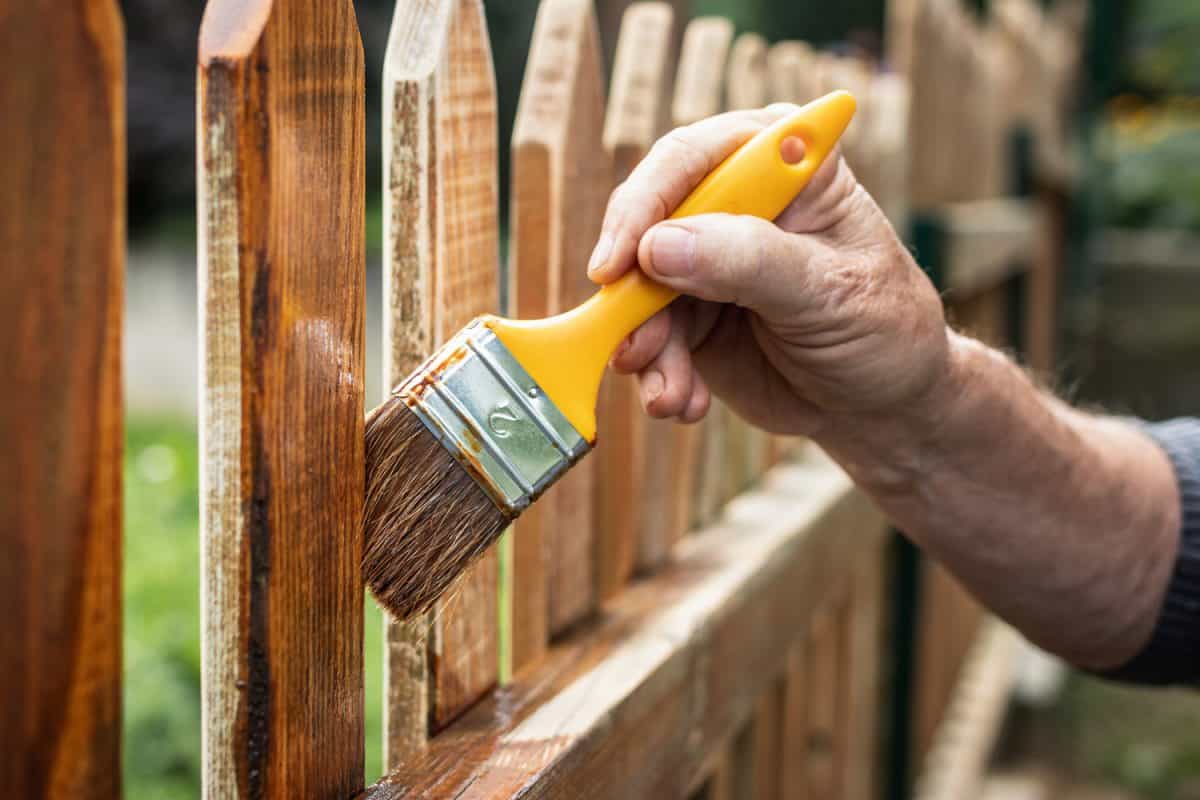
6. Paint the Wood
Using a paintbrush, gently paint the wood according to the direction of the grains to ensure a better and smoother finish. Wait for the wood to be completely dry before deciding to apply a second coating.
Make use of oil-based paint for untreated wood since it seals the permeable areas to avoid moisture seeping through the wood, and to ensure that the paint can cover the whole exterior of the wood.
On one hand, acrylic-based paints are best suited for pressurized wood because it is proven to be the most durable type of paint. Another reason why this is the best option is that wood would neither shrink nor crack.
7. Determine if Second Coat is Needed
Top-quality paint materials usually do not require a second coat. If you notice patchy or uneven areas, you can apply a second coat. Drying time typically takes 12 hours.
8. Clear the Area and Clean Tools
Once you are finished with the project, make sure to clean the area as well as the tools. Remember to not wash or rinse your paintbrush in the sink because paint can damage the septic system of your home.
Can my neighbor paint my fence on his side?
We must first acknowledge property boundaries. In order to know the entirety of your land, you can read this information in your property deeds. Although each state has different rules, there are general requirements.
If the entirety of the fence falls within your property line, then your neighbor has no legal right to paint the other side of the fence unless you permit them. However, if it is placed within their borders or property line, then they are permitted to do so.
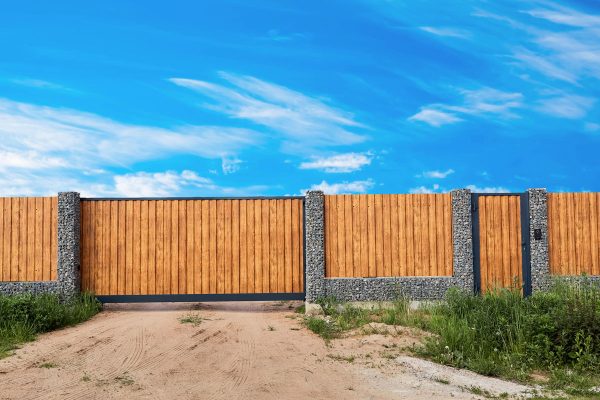
Will a painted fence last longer?
The general concept of painting is to ensure your fence can last. Wooden fences are more prone to decay because they cannot survive harsh weather conditions, especially if left untreated. Paints also perform as sealants. This way, it not only enhances its appearance but also improves its durability.
To guarantee its longevity, waterproofing, sealing, and staining your wooden fence are also ideal options.
In Closing
Always remember, applying waterproof sealants, primer, and paint are supposed to be applied on top of each other to prevent paint from going through the other side.
If you have found this article informative, check out these two other helpful topics:
![Close board fence erected around a garden for privacy with wooden fencing panels, concrete posts and kickboards for added durability, Are Gravel Boards Treated? [And How Long Do They Last]](https://fencefixation.com/wp-content/uploads/2022/06/Close-board-fence-erected-around-a-garden-for-privacy-with-wooden-fencing-panels-concrete-posts-and-kickboards-for-added-durability-600x400.jpg)
![Wooden fence with green lawn and trees, Stepped Vs. Racked Fence Installation [Where & How To Use Each]](https://fencefixation.com/wp-content/uploads/2022/06/Wooden-fence-with-green-lawn-and-trees-600x400.jpg)